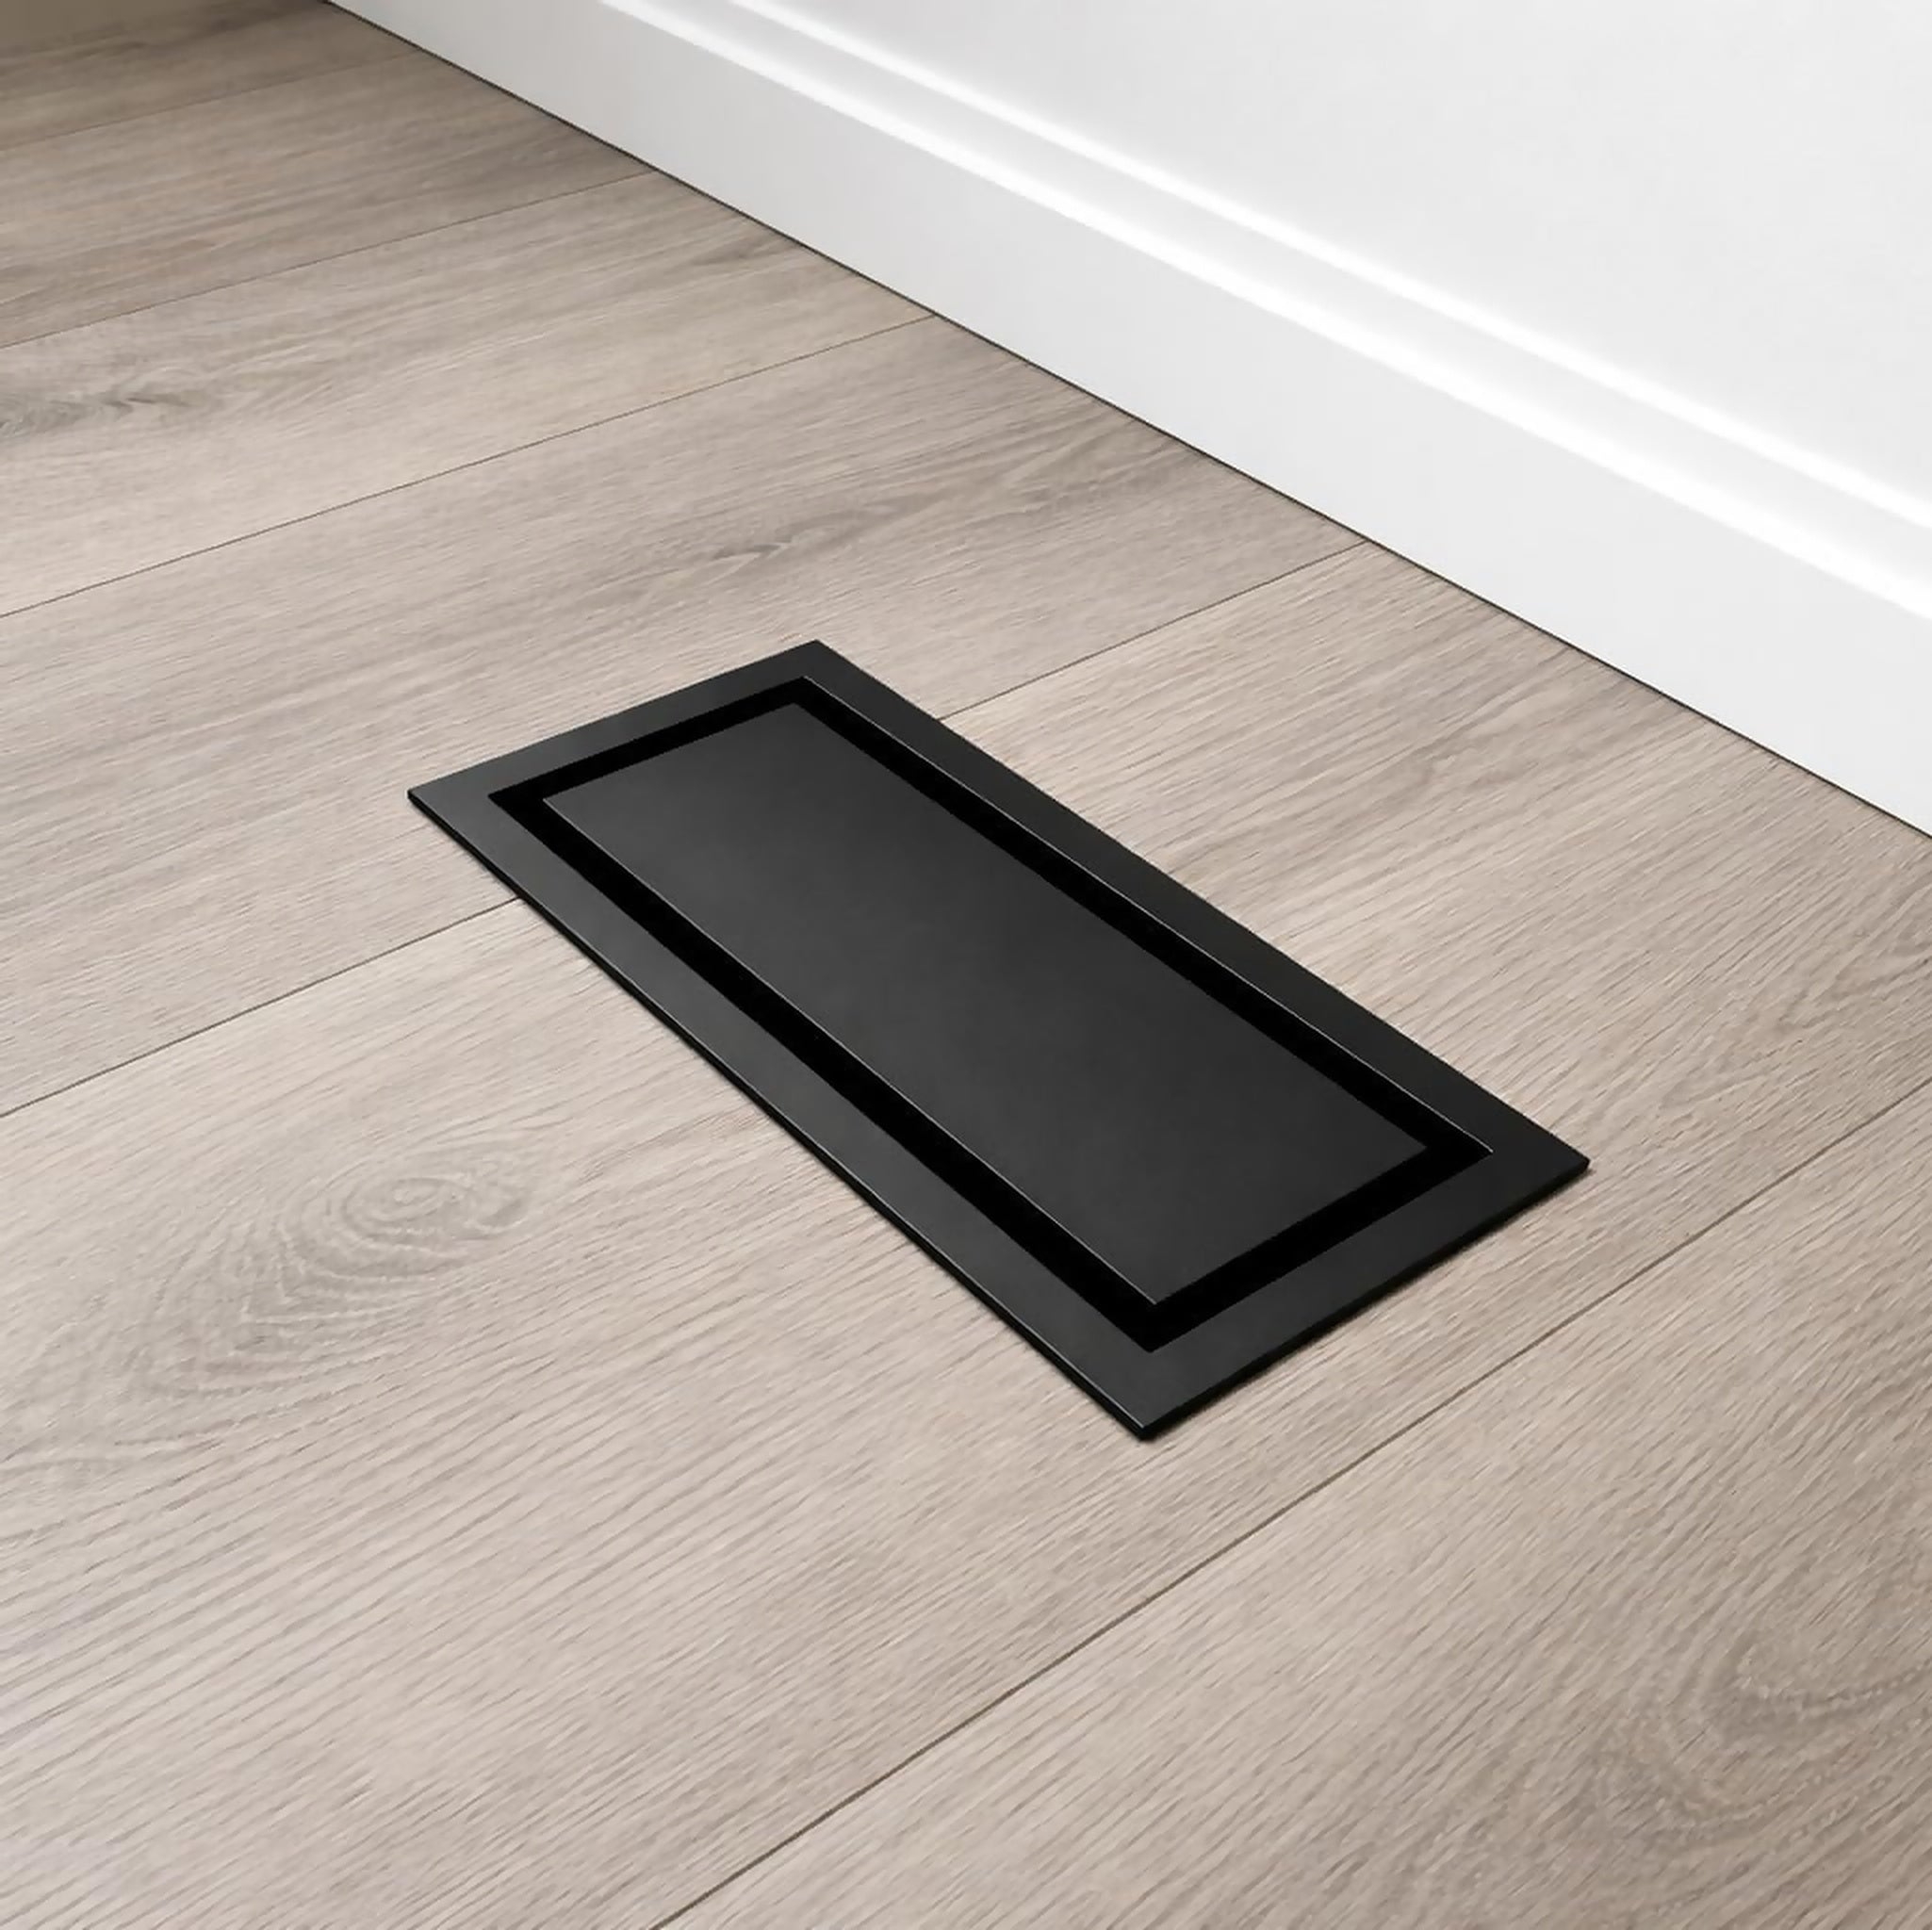
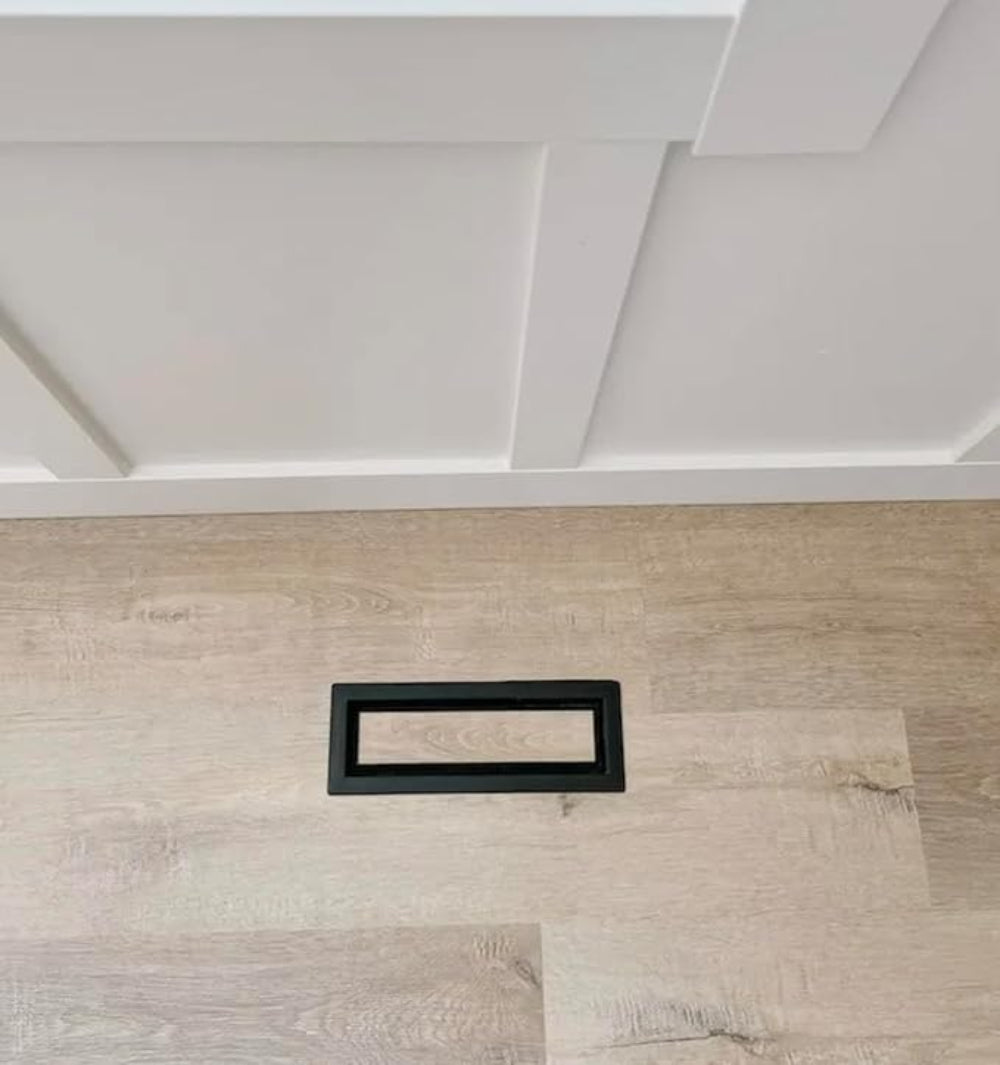
If your floor is staying in place, start with a drop-in vent. If you are laying new flooring and want the vent level with it, consider an undermount. Both can take a flooring inlay, but their outer frames and installation work are different.
| Choice | Best starting point | What you see |
|---|---|---|
| Drop-In Floor Vent | An existing finished floor; you can supply an inlay if wanted | A visible perimeter frame around the opening |
| 2-in-1 Drop-In Vent | An existing floor; you want an included metal insert | The drop-in frame with a finished metal centre |
| Undermount Flush Floor Vent | A new floor or planned flooring renovation | A vent integrated level with the finished flooring |
Drop-in: the straightforward replacement
The body fits into the opening from above and its perimeter frame rests on the finished floor. Check the selected product drawing against the actual opening and the available support around it. A drop-in frame can conceal a cut edge, but it cannot compensate for every oversized or damaged opening.
Choose the plain version when you want to supply matching flooring for the centre tray. Choose the 2-in-1 when you want the included metal insert. That insert is not a piece of flooring; you supply and cut your own material if you later choose an inlay. The insert buyer's guide explains the options.

Undermount: plan it into the floor
The base is fixed at the subfloor stage and the surrounding flooring is laid around it. The tray holder is adjusted to suit the finished height using the product's intended method. The undermount installation guide shows the base, adjustment screws and removable tray.
Have the actual vent on site before the installer starts. Confirm the complete floor build-up and required movement joints. Retrofitting one into a completed floor may require planned cutting or lifting; it is not an ordinary register swap.

What does a hidden vent actually hide?
A matching inlay reduces the visual contrast in the centre. It does not remove the perimeter air passages. On a drop-in design, the outside frame remains visible; on an undermount, the surrounding installation creates the level finish. Keep those differences in mind when comparing product photos.
Entryways and mudrooms
For an existing entryway floor, begin with a supported drop-in fit and enough access to lift the cover for cleaning. During a floor replacement, an undermount may give the level finish you want. Keep boot trays and wet footwear away from the air path. Neither style should be treated as a drain for slush or a surface for unspecified concentrated loads.
Wipe salt residue and dry accessible surfaces promptly. The metal-vent cleaning guide covers care around an inlay and a coated finish.
Three checks before choosing
- Fit: measure the opening and compare the exact size drawing. Use our measurement checklist.
- Flooring: check inlay thickness and the installation requirements for wood, tile or floating vinyl.
- Airflow: match the vent to the application. A low-profile appearance does not prove its effect on your HVAC system.
Current sizes, finishes and prices are on each product page. Check availability for your delivery country before planning a whole-house order.
For common openings, the 4x10 floor vent comparison and 4x12 floor vent comparison show both installation styles. Use the vent size finder if your measurement differs, then confirm the drawing for the style you choose.
Share:
How to Measure Floor Vents: Opening, Frame & Fit