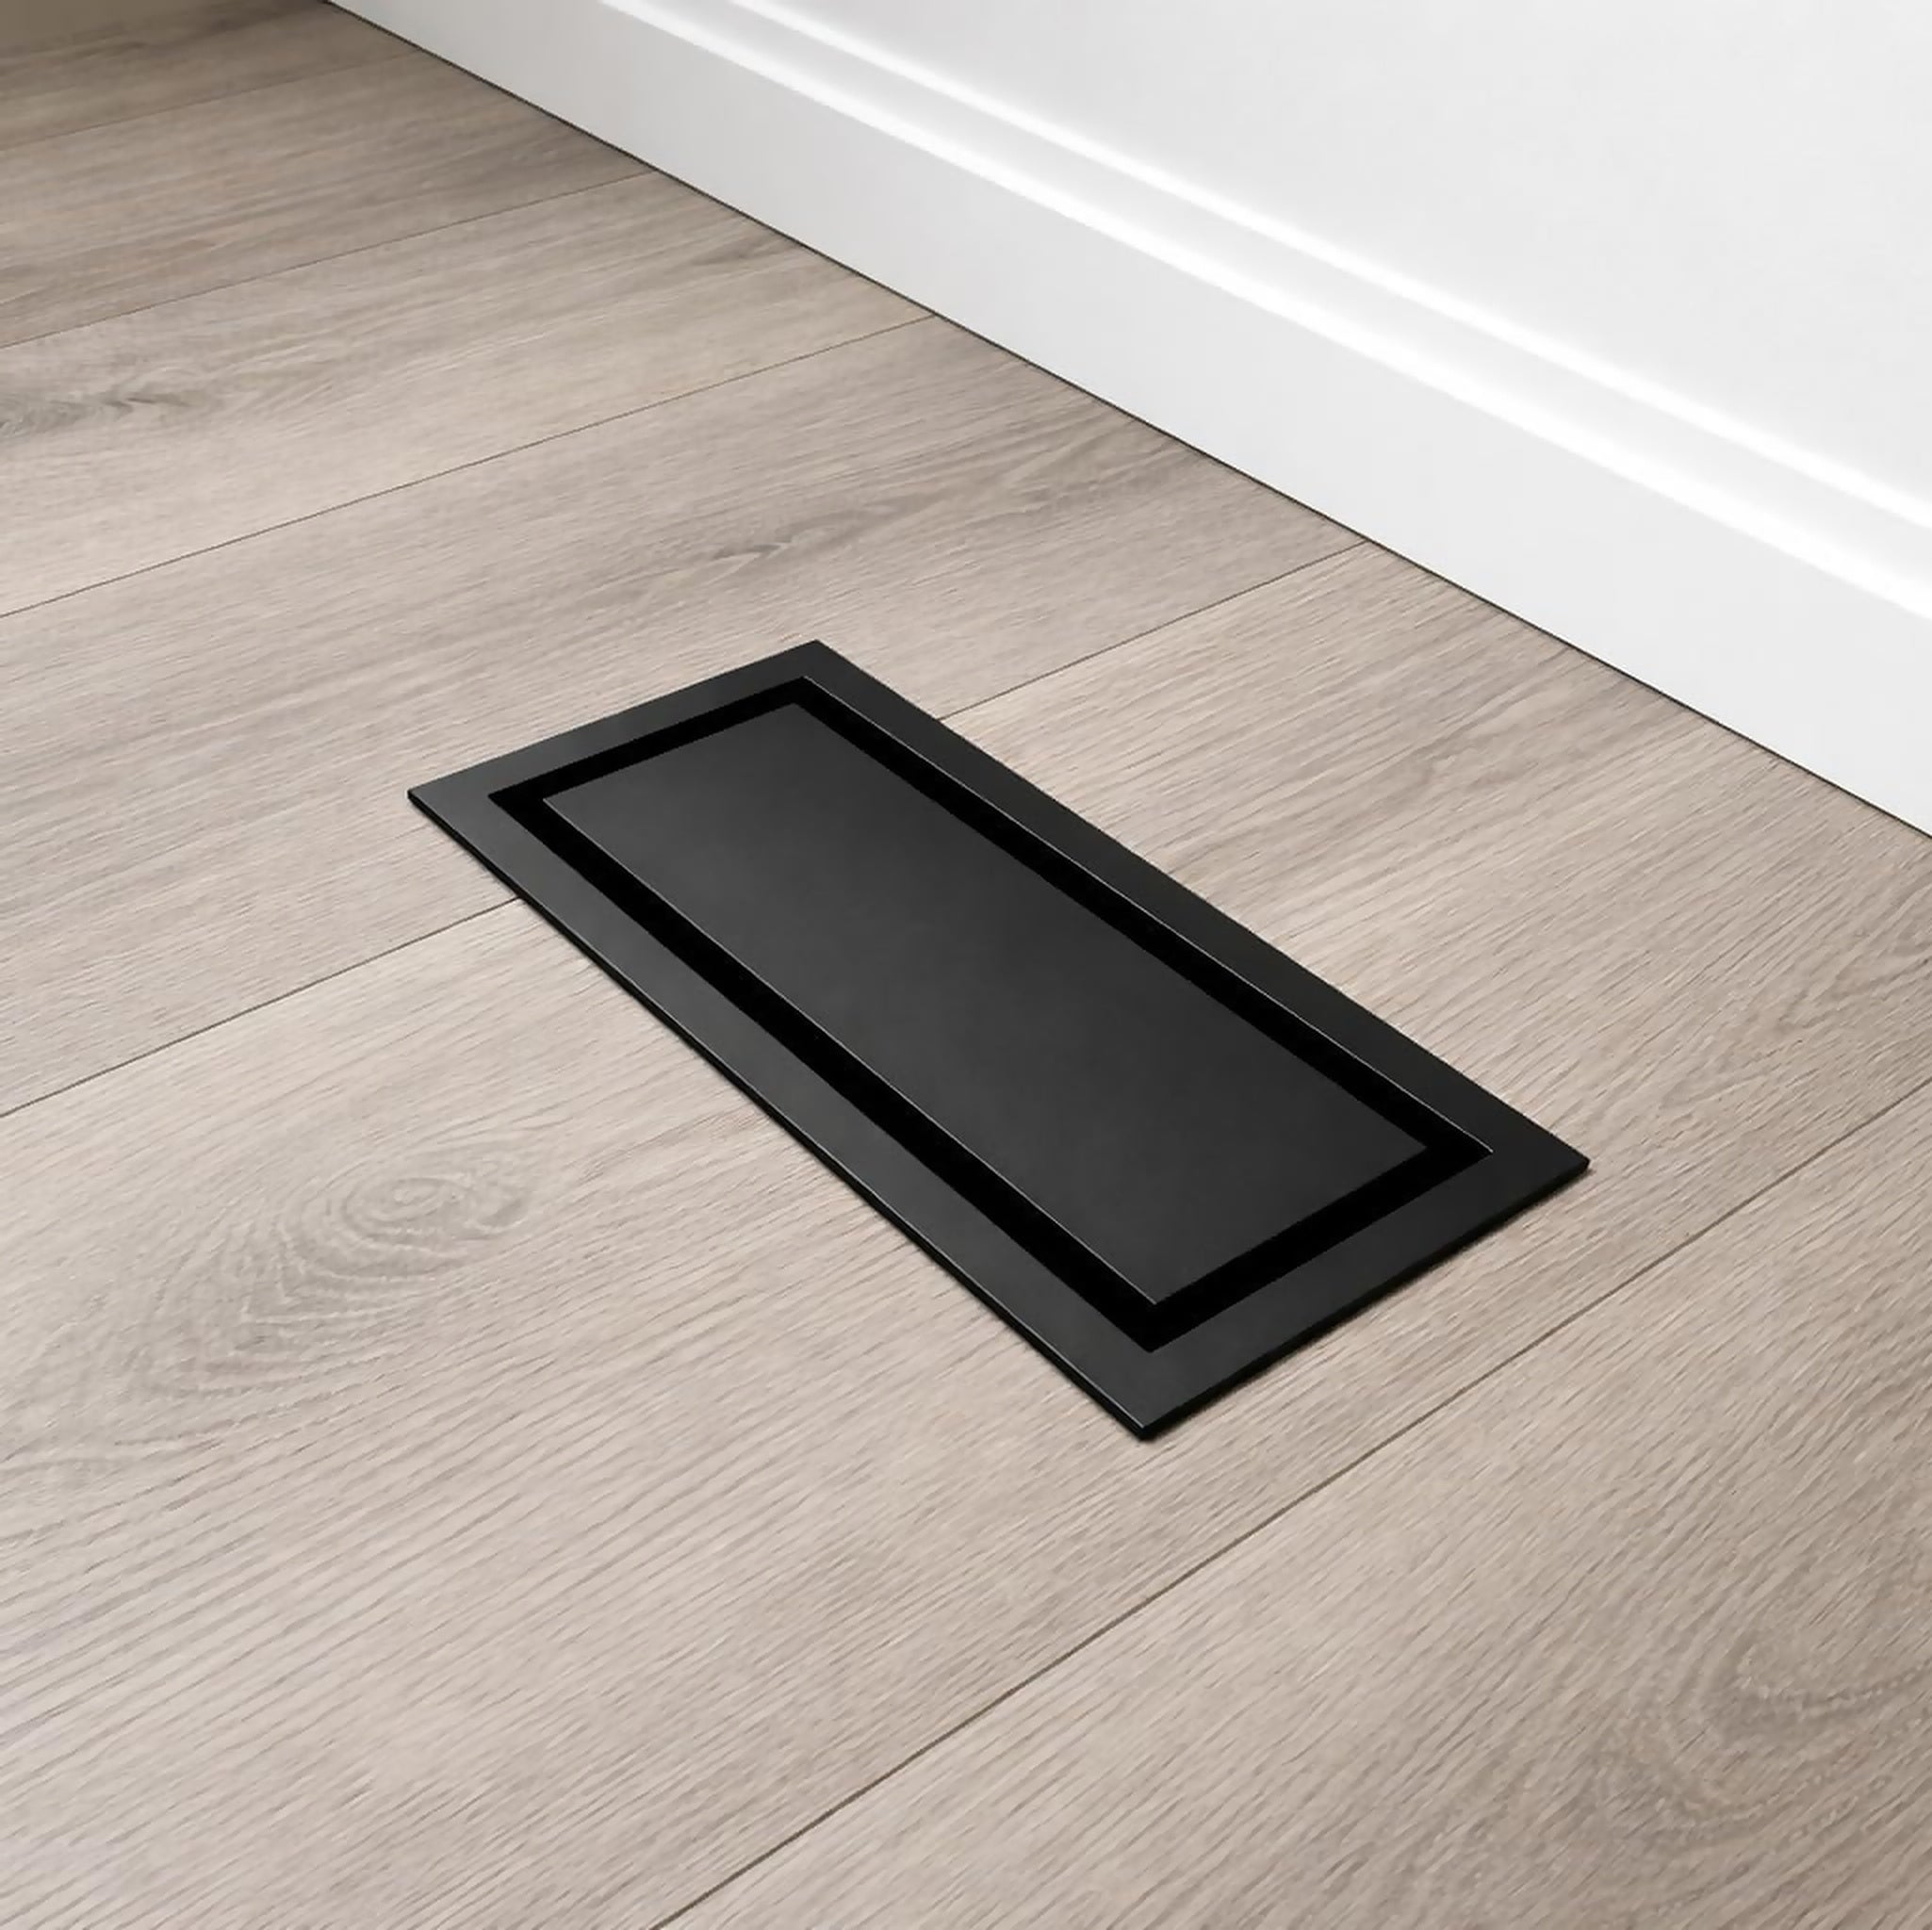
Flush Wall Vent Install Guide
Thank you for your purchase — and for supporting a small business. ❤️
Doing another room? Email subscribers get 10% off — sign up below
Installation Instructions
-
Place the vent into the duct opening — it should sit snug.

-
Fasten through the pre-drilled flange holes with drywall screws.

-
Protect the opening, then mud over the flange.

-
Once dry, sand smooth and blend into the surrounding wall.

-
Prime, then paint or wallpaper the finished area. Keep the opening protected.

-
Paint or wallpaper the detached plate to match. Let it dry.

-
Remove the masking. Push the plate in, then slide sideways until it seats.

Any issues or need support?
Email support@khansupply.co — you’ll get a human reply ASAP.
Refer someone, earn 5%
Know a builder, a contractor, or a neighbour mid-reno? Send them our way. Email us with anyone you refer and we'll put 5% of their order back in your pocket as store credit.
More for the rest of the house
10% off your next order

- Free shipping · 2–4 days
- Free prepaid returns
- 2-year warranty
Know someone renovating? Refer them and earn 5% store credit · All install guides →