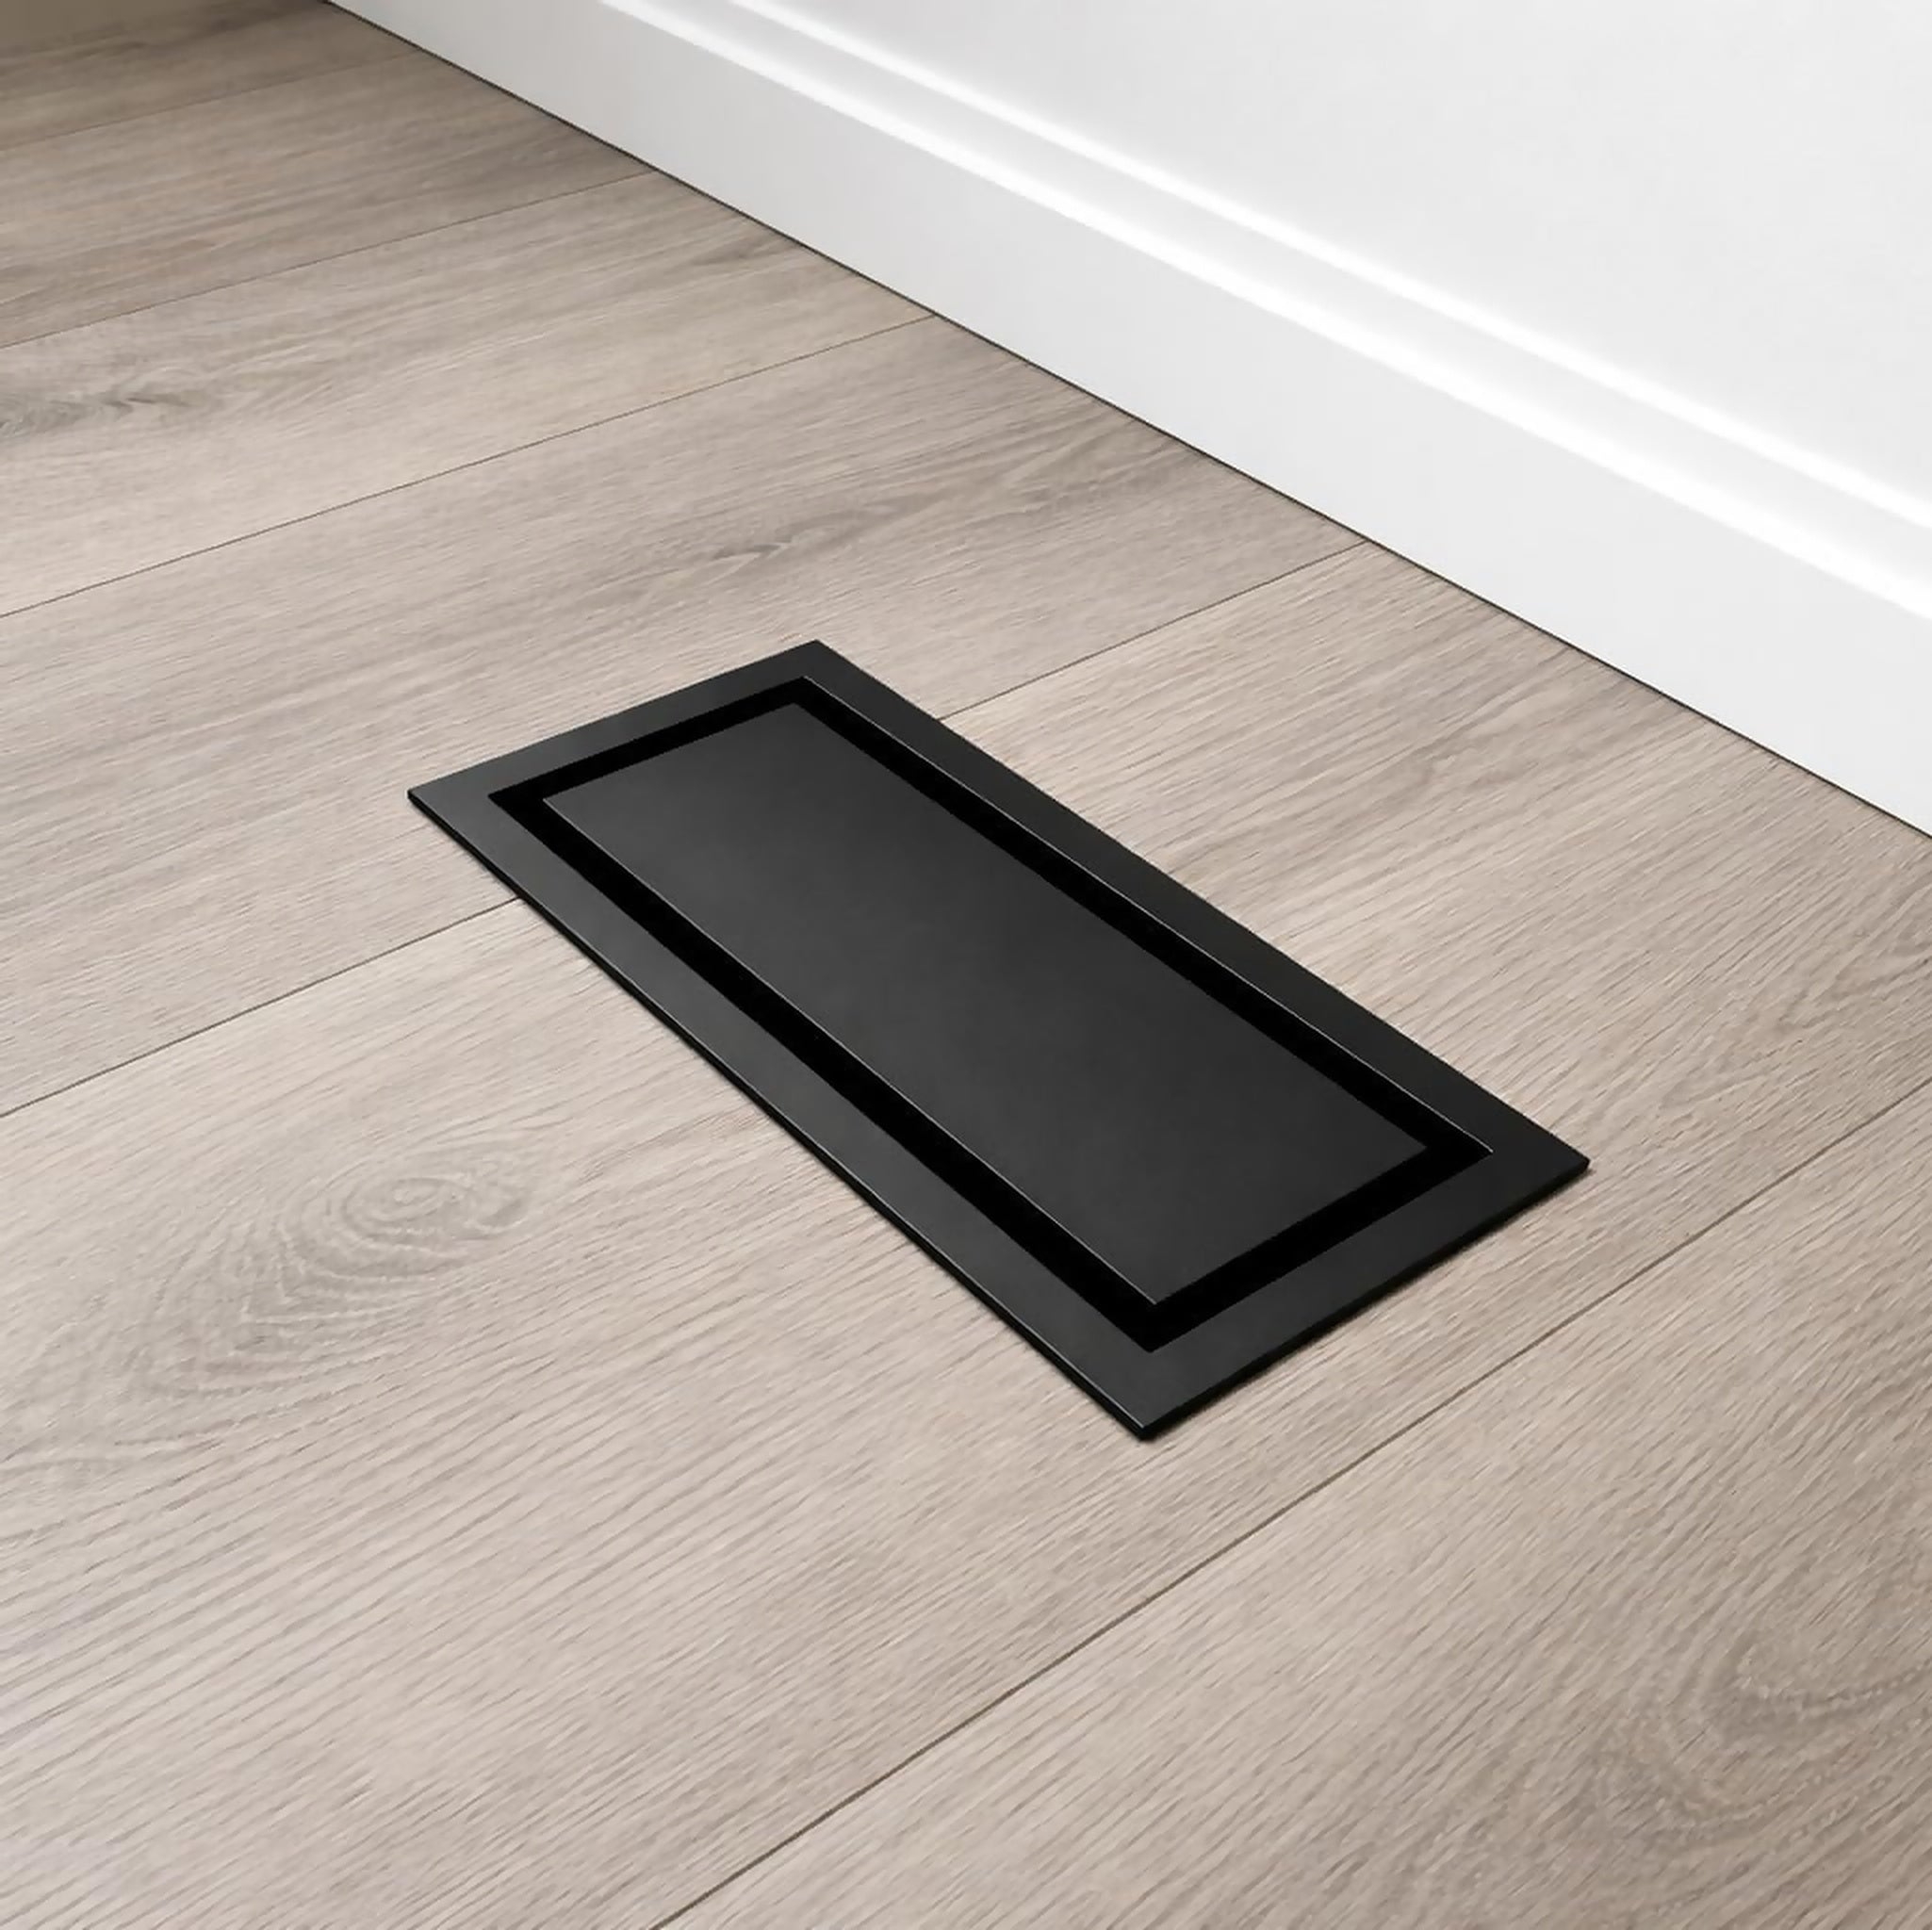
Drop-In Floor Vent Install Guide
Thank you for your purchase, and for supporting a small business. ❤️
Doing another room? Email subscribers get 10% off: sign up below
Installation Instructions
-
Check the opening. Remove the old vent and measure the bare duct opening. Match it to your vent size.

-
Click the tray into the vent body. Hook the two pins closest to you first, then press the far edge down until the other two pins click.

-
Choose your insert. Use a metal insert or matching flooring.
Metal insert
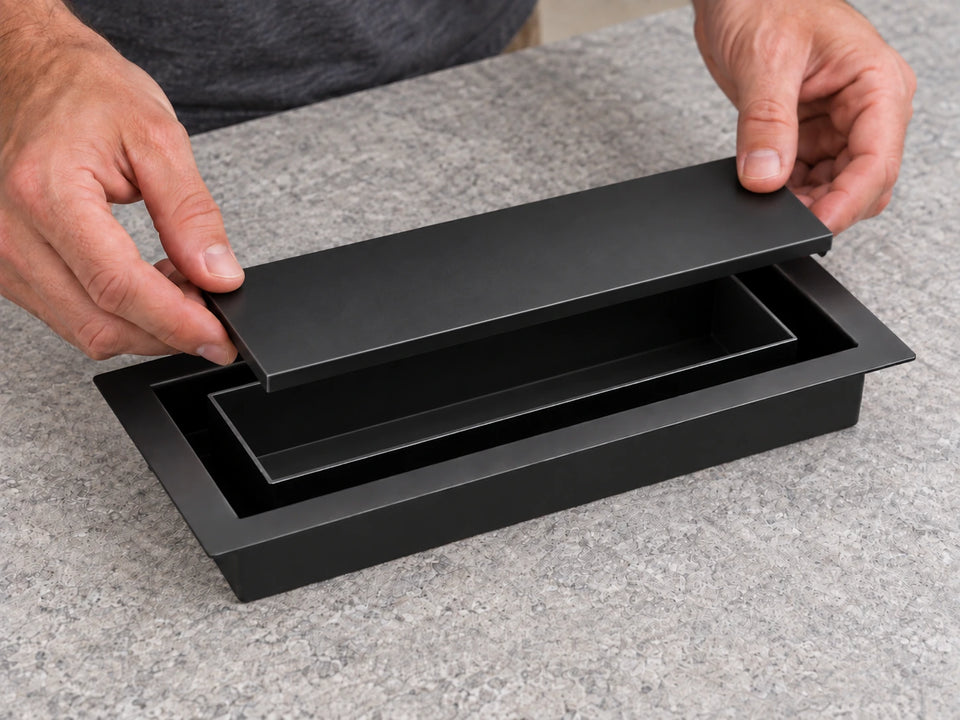
Use the metal insert if you got the upgraded version or bought extra inserts.
Flooring insert

Use the template or cut sizes below. Test the piece inside the tray, then continue to step 4.
For a flooring insert: mark and cut the piece.
Flooring insert cut sizes: these are for the piece inside the tray, not the duct or subfloor opening.
Vent Size Flooring Insert Cut Size (mm) 3×10 41 × 212 mm 4×10 65 × 212 mm 4×12 63 × 262 mm -
Fit the flooring insert. If needed, add a sub-insert or drywall shim that fits the tray edge to edge. Keep the flooring level with the rim and the airflow gaps clear.
-
Drop the vent into place. Lower the assembled vent into the opening until the outer rim sits flat on the finished floor.


Quick fit check
If the tray is loose or uneven, check that all four pins are fully clicked in. If the flooring sits low, add a sub-insert or drywall shim.
Any issues or need support?
Email support@khansupply.co. You’ll get a human reply ASAP.
Refer someone, earn 5%
Know a builder, a contractor, or a neighbour mid-reno? Send them our way. Email us with anyone you refer and we'll put 5% of their order back in your pocket as store credit.
More for the rest of the house
10% off your next order

- Free shipping · 2–4 days
- Free prepaid returns
- 2-year warranty
Know someone renovating? Refer them and earn 5% store credit · All install guides →
Installed yours?
Tell us how it went
A quick review helps the next person pick the right vent, and it makes a real difference to a company our size.
Which one did you install?