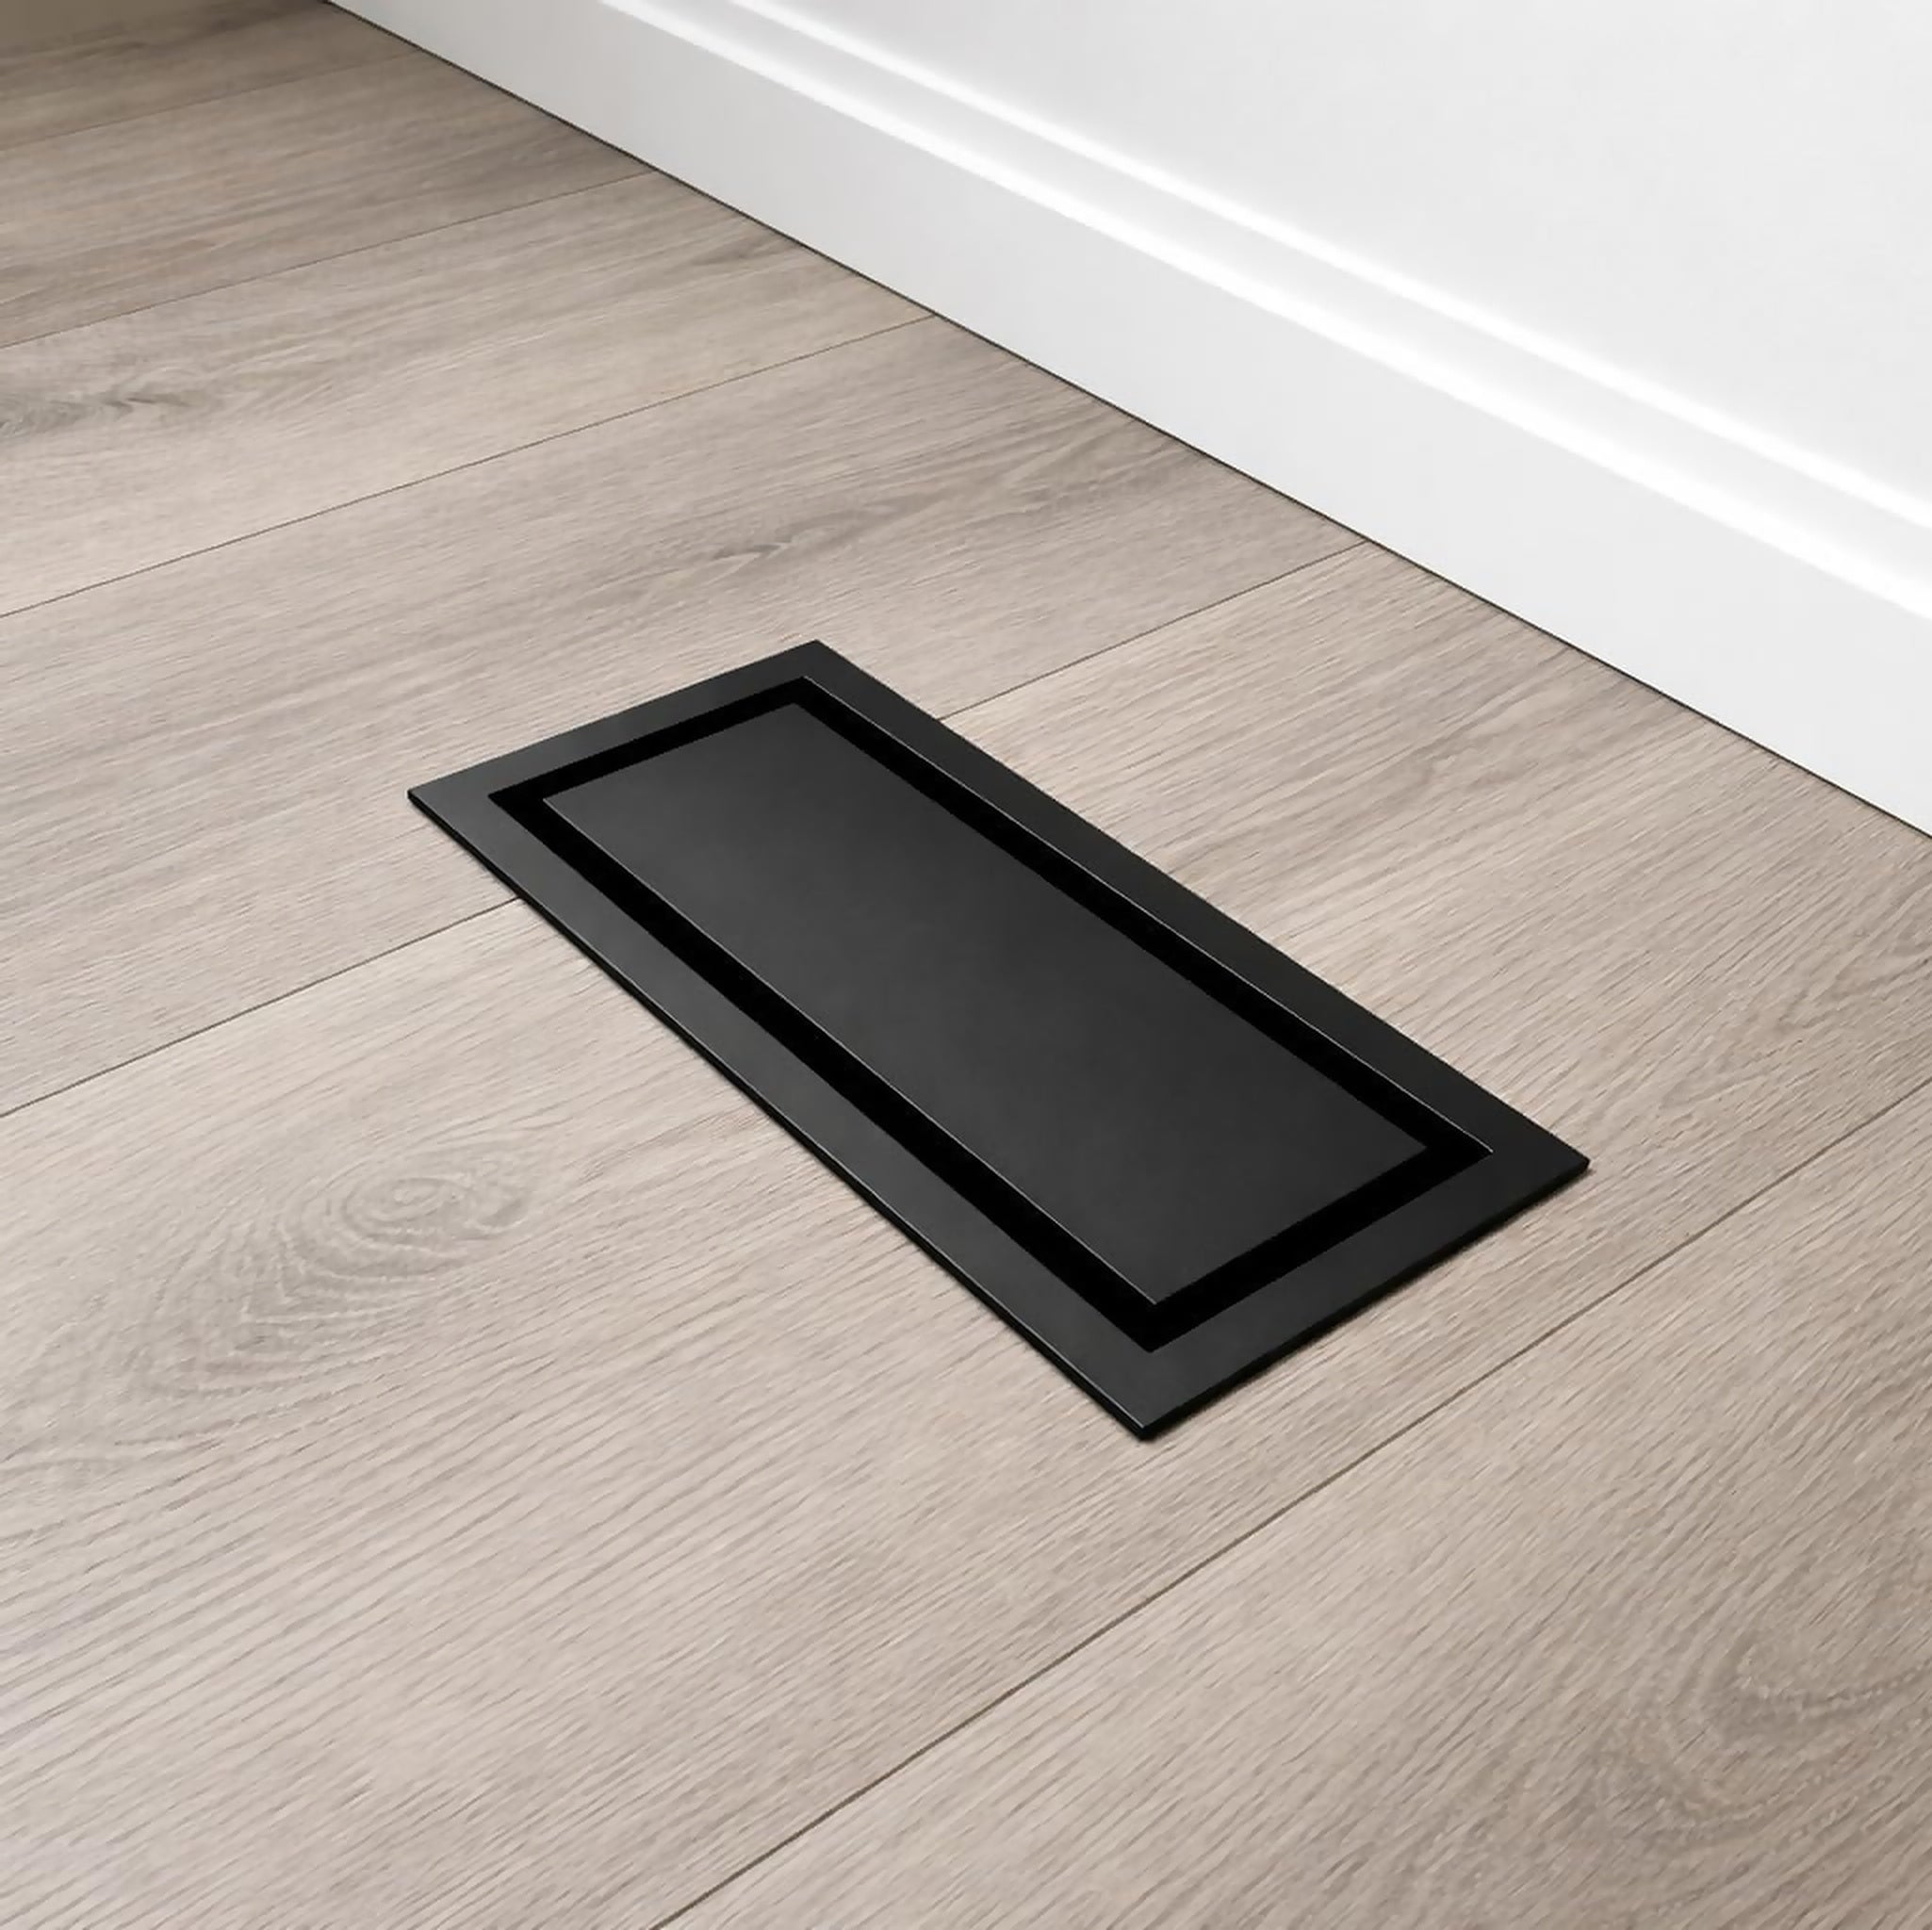
Undermount Floor Vent Install Guide
Thank you for your purchase — and for supporting a small business. ❤️
Doing another room? Email subscribers get 10% off — sign up below
Installation Instructions
-
Screw the base tray into your subfloor using the included screws as shown:

-
Install your flooring around the base tray:

-
Use the included silver screws to level the tray holder — raise or lower them, then test-seat the tray to confirm.

-
Add your flooring cutout (sizes below) to the tray holder. The flooring tray is permanently affixed to the holder. Note: depending on flooring thickness, a plywood shim may be needed to sit level.
Vent Size Cut Opening (mm) 4x10 70 mm × 221 mm 3x10 45 mm × 221 mm 4x12 70 mm × 272 mm Installing a different size? All sizes and cut dimensions are in the size guide →

-
Set the dampers, then slide the tray into place.

-
Be proud that you have some of the best vents on the planet!

Any issues or need support?
Email support@khansupply.co — you’ll get a human reply ASAP.
Refer someone, earn 5%
Know a builder, a contractor, or a neighbour mid-reno? Send them our way. Email us with anyone you refer and we'll put 5% of their order back in your pocket as store credit.
More for the rest of the house
10% off your next order

- Free shipping · 2–4 days
- Free prepaid returns
- 2-year warranty