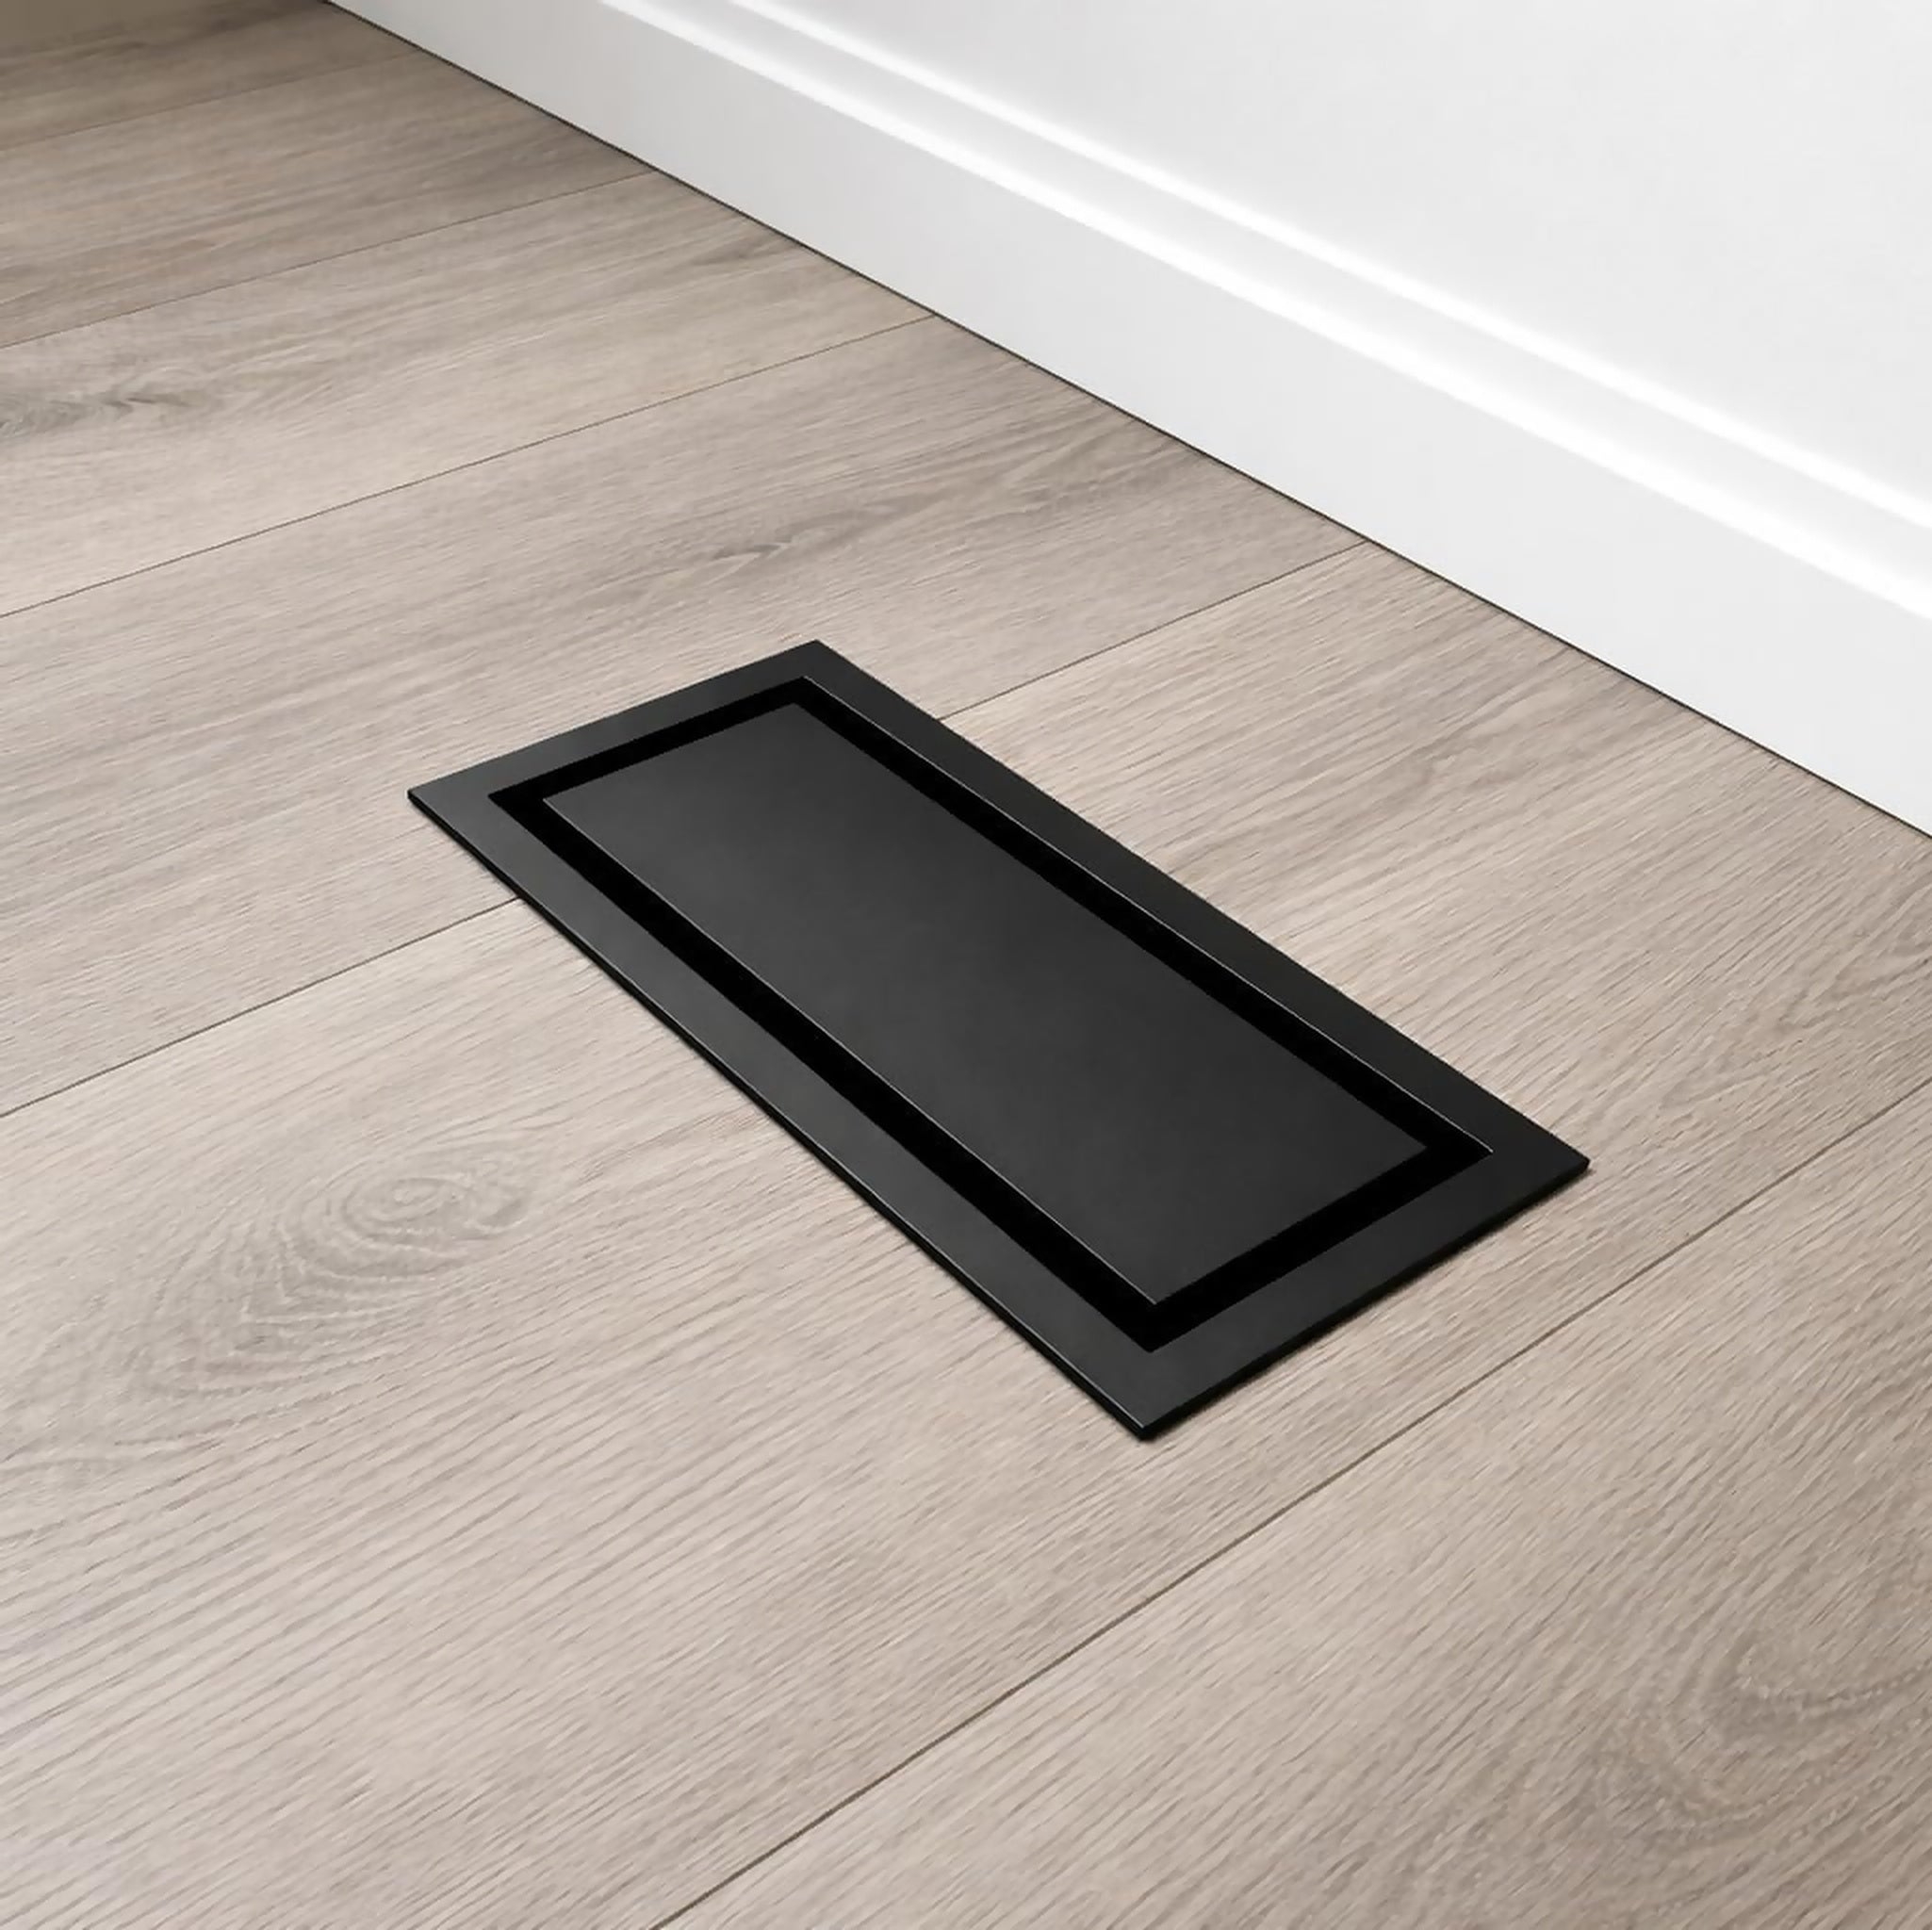
Exhaust Mount Install Guide
Thank you for your purchase and for supporting a small business.
Doing another room? Email subscribers get 10% off: sign up below
Before you begin
- Turn off the fan circuit at the breaker. Use a stable platform and suitable eye and dust protection.
- Measure the actual mount and fan before cutting. Check for wiring and framing; provide solid ceiling backing.
- Follow the fan manufacturer's support, ducting and wiring instructions. Have electrical work completed by a qualified person.
Installation Instructions
-
Measure the fan and adjust the inner opening if needed.
Trim all four edges as needed, leaving enough ledge to support the fan's flange. Keep the outer flange and plate slots intact.

-
Fasten the fan to the exhaust mount.
Seat the fan's flange on the inner ledge. Drill into the mount through the fan's existing corner holes, then secure with screws.

-
Lift the assembled fan and mount into the ceiling opening.
Support the assembly and check that the mount's outer flange sits flat against the ceiling.

-
Fasten the mount to ceiling framing.
Keep the assembly supported while securing the mount through its fixing points. Trial-fit the plate before finishing.

-
Mud over the outer flange.
Protect the fan, cover the flange and screw heads, then let dry.

-
Sand smooth, blending into the surrounding ceiling.
Repeat thin coats as needed, then remove the sanding dust.

-
Prime and paint the finished ceiling.
Keep paint off the fan and plate slots. Leave the airflow path clear.

-
Paint the plate to match the ceiling.
Apply thin coats and keep the rear fixing points clean. Let it dry fully.

-
Position the plate and slide it into place.
Align the gravity fasteners, then slide to engage. Support the plate until secure and keep the perimeter gap open.


Restore power and run the fan. Check that the plate stays secure and airflow is clear.
Any issues or need support?
Email support@khansupply.co.
Refer someone, earn 5%
Know a builder, a contractor, or a neighbour mid-reno? Send them our way. Email us with anyone you refer and we'll put 5% of their order back in your pocket as store credit.
More for the rest of the house
10% off your next order

- Free shipping · 2–4 days
- Free prepaid returns
- 2-year warranty
Know someone renovating? Refer them and earn 5% store credit · All install guides →
Installed yours?
Tell us how it went
A quick review helps the next person pick the right vent, and it makes a real difference to a company our size.
Customer Reviews
These vents are so slick. Impress everyone with these when they see the invisible vents
Very similar to the Fittes model of flush exhaust wall vents. Quality build and material, the matte white finish looks and feels great, easy to paint over. Heavy metal dampers on the back with the standard semi-permanent/adjustable fins. It's a set and forget type thing. Customers complaining of the price clearly haven't seen how much a Fittes version cost - these are already slightly cheaper than comparable models. These are not your regular vents to be installed in regular homes, chances are a builder is installing them in luxury million dollar houses.

These events are made with heavy metal. They are great to use especially in new construction where they can be spackled into the wall at the same time the other sheetrock is being done. Once in place this can be painted to match the wall or paper or even had a thin piece of paneling put on it to minimize and the appearance of advance. These fit easily into standard 4x10 in Van holes. The installation is easy and this standard sized vent will fit into existing standardized vent holes. The vent cover slips easily and securely unto the back plate. The vent becomes nearly invisible when finished to match the surrounding wall finish. A good value for the money.

We’re remodeling our home room-by-room as the budget allows, and these 4" x 10" trimless flush mount registers completely changed the look of our space. The clean, seamless appearance makes standard vent covers look completely outdated by comparison. Once painted to match the wall, they practically disappear and give the room a custom, high-end finish.As with most DIY projects, the final result is all about the prep work:⭐ Prep & Fit: Take your time during installation and pay close attention to the metal flange on the register box. If it sticks out even slightly, trim it down so you can get a truly flush fit.⭐ Drywall & Tape: Only remove enough drywall surface to properly blend in the fiber tape and mud. Keeping the wall surface consistent with the surrounding area makes a huge difference in the final look.⭐ HVAC Prep: While everything is open, make sure to thoroughly vacuum out the HVAC line! Once this register is installed, cleaning deep into the duct will be significantly more difficult.⭐ Paint: Spraying the wall paint directly onto the unit gave us the best finish and helped everything blend together smoothly.One tip regarding this particular model from Khan Supply: The center panel doesn't have a slightly raised edge like some other models. If you're doing Venetian plaster or a decorative finish, you may want to consider a different model. For our finish, this one worked perfectly as is... After lightly sanding for paint adhesion and spray painting, it blended in seamlessly. I did notice the tabs holding the center panel don't hold as tight as some other models I've installed. This is easily rectified by bending the tabs to fit a little tighter, not a big deal, just something to evaluate before you install it.These wall vents definitely require more effort than a quick screw-on standard vent cover, but the sleek, modern aesthetic is 100% worth it. We’ll definitely be buying more as we move on to the next rooms!


I purchased this Khan Supply flush wall vent for an upcoming remodel, and I have to say the quality is impressive. The heavy-duty metal construction feels substantially better than the standard register covers you'll find at most home improvement stores. It has a solid, well-built feel that immediately gives the impression of a premium product.What really attracted me to this vent is the flush-mount recessed design. Traditional registers tend to stick out and draw attention to themselves, while this design blends into the wall or ceiling for a much cleaner, more architectural appearance. The paintable finish is another big advantage, allowing it to disappear into the surrounding surface if that's the look you're after.The adjustable airflow damper is a nice feature as well. Too often decorative vents focus only on appearance, but this one still provides the functionality needed to fine-tune airflow in a room.The vent arrived well-packaged with no damage, and the finish, welds, and overall craftsmanship exceeded my expectations. It's clear this is not a builder-grade product.My only real criticism is the price. There's no getting around the fact that this vent costs significantly more than a traditional register. Because of that, I'm docking it one star. However, after seeing the quality in person, I can understand where some of that cost goes. If you're investing in a high-end remodel and want the cleanest possible look, it may be worth the premium.Overall, this is a very nice product with excellent build quality, thoughtful design, and a modern appearance. It's expensive, but the quality is definitely there.


