Working out how to install a wall vent is really a measuring job with a screwdriver at the end of it. In most homes the cut in the drywall already exists, the duct behind it is a fixed size, and the only real decisions are which size cover to order and whether you want it sitting on the wall or recessed into it. Get those two right and each opening takes about ten minutes. Get them wrong and you are patching drywall on a Saturday.
Measure the duct opening, not the old cover
Wall vents are sold by the duct opening they fit, never by the outside dimension of the faceplate. A 4x10 wall vent means the duct behind the drywall measures roughly 4 inches by 10 inches — the visible frame is deliberately larger so it overlaps the cut edge and hides a ragged saw line. This is the most common ordering mistake we see: someone measures the old faceplate at roughly 6 by 12, orders that, and lands a full size out.
So pull the existing cover off, run a tape across the bare opening, and record the height and width of the hole itself. If the drywall is chewed up at the corners, measure to the metal duct rather than to the paper edge. Our guide on measuring vents correctly the first time walks through the same method for floor and wall openings, and wall vent cover sizes for returns and exhausts covers the larger openings that catch people out.
Flush or framed: which install are you actually doing?
This is the decision that changes the work, so make it before you order.
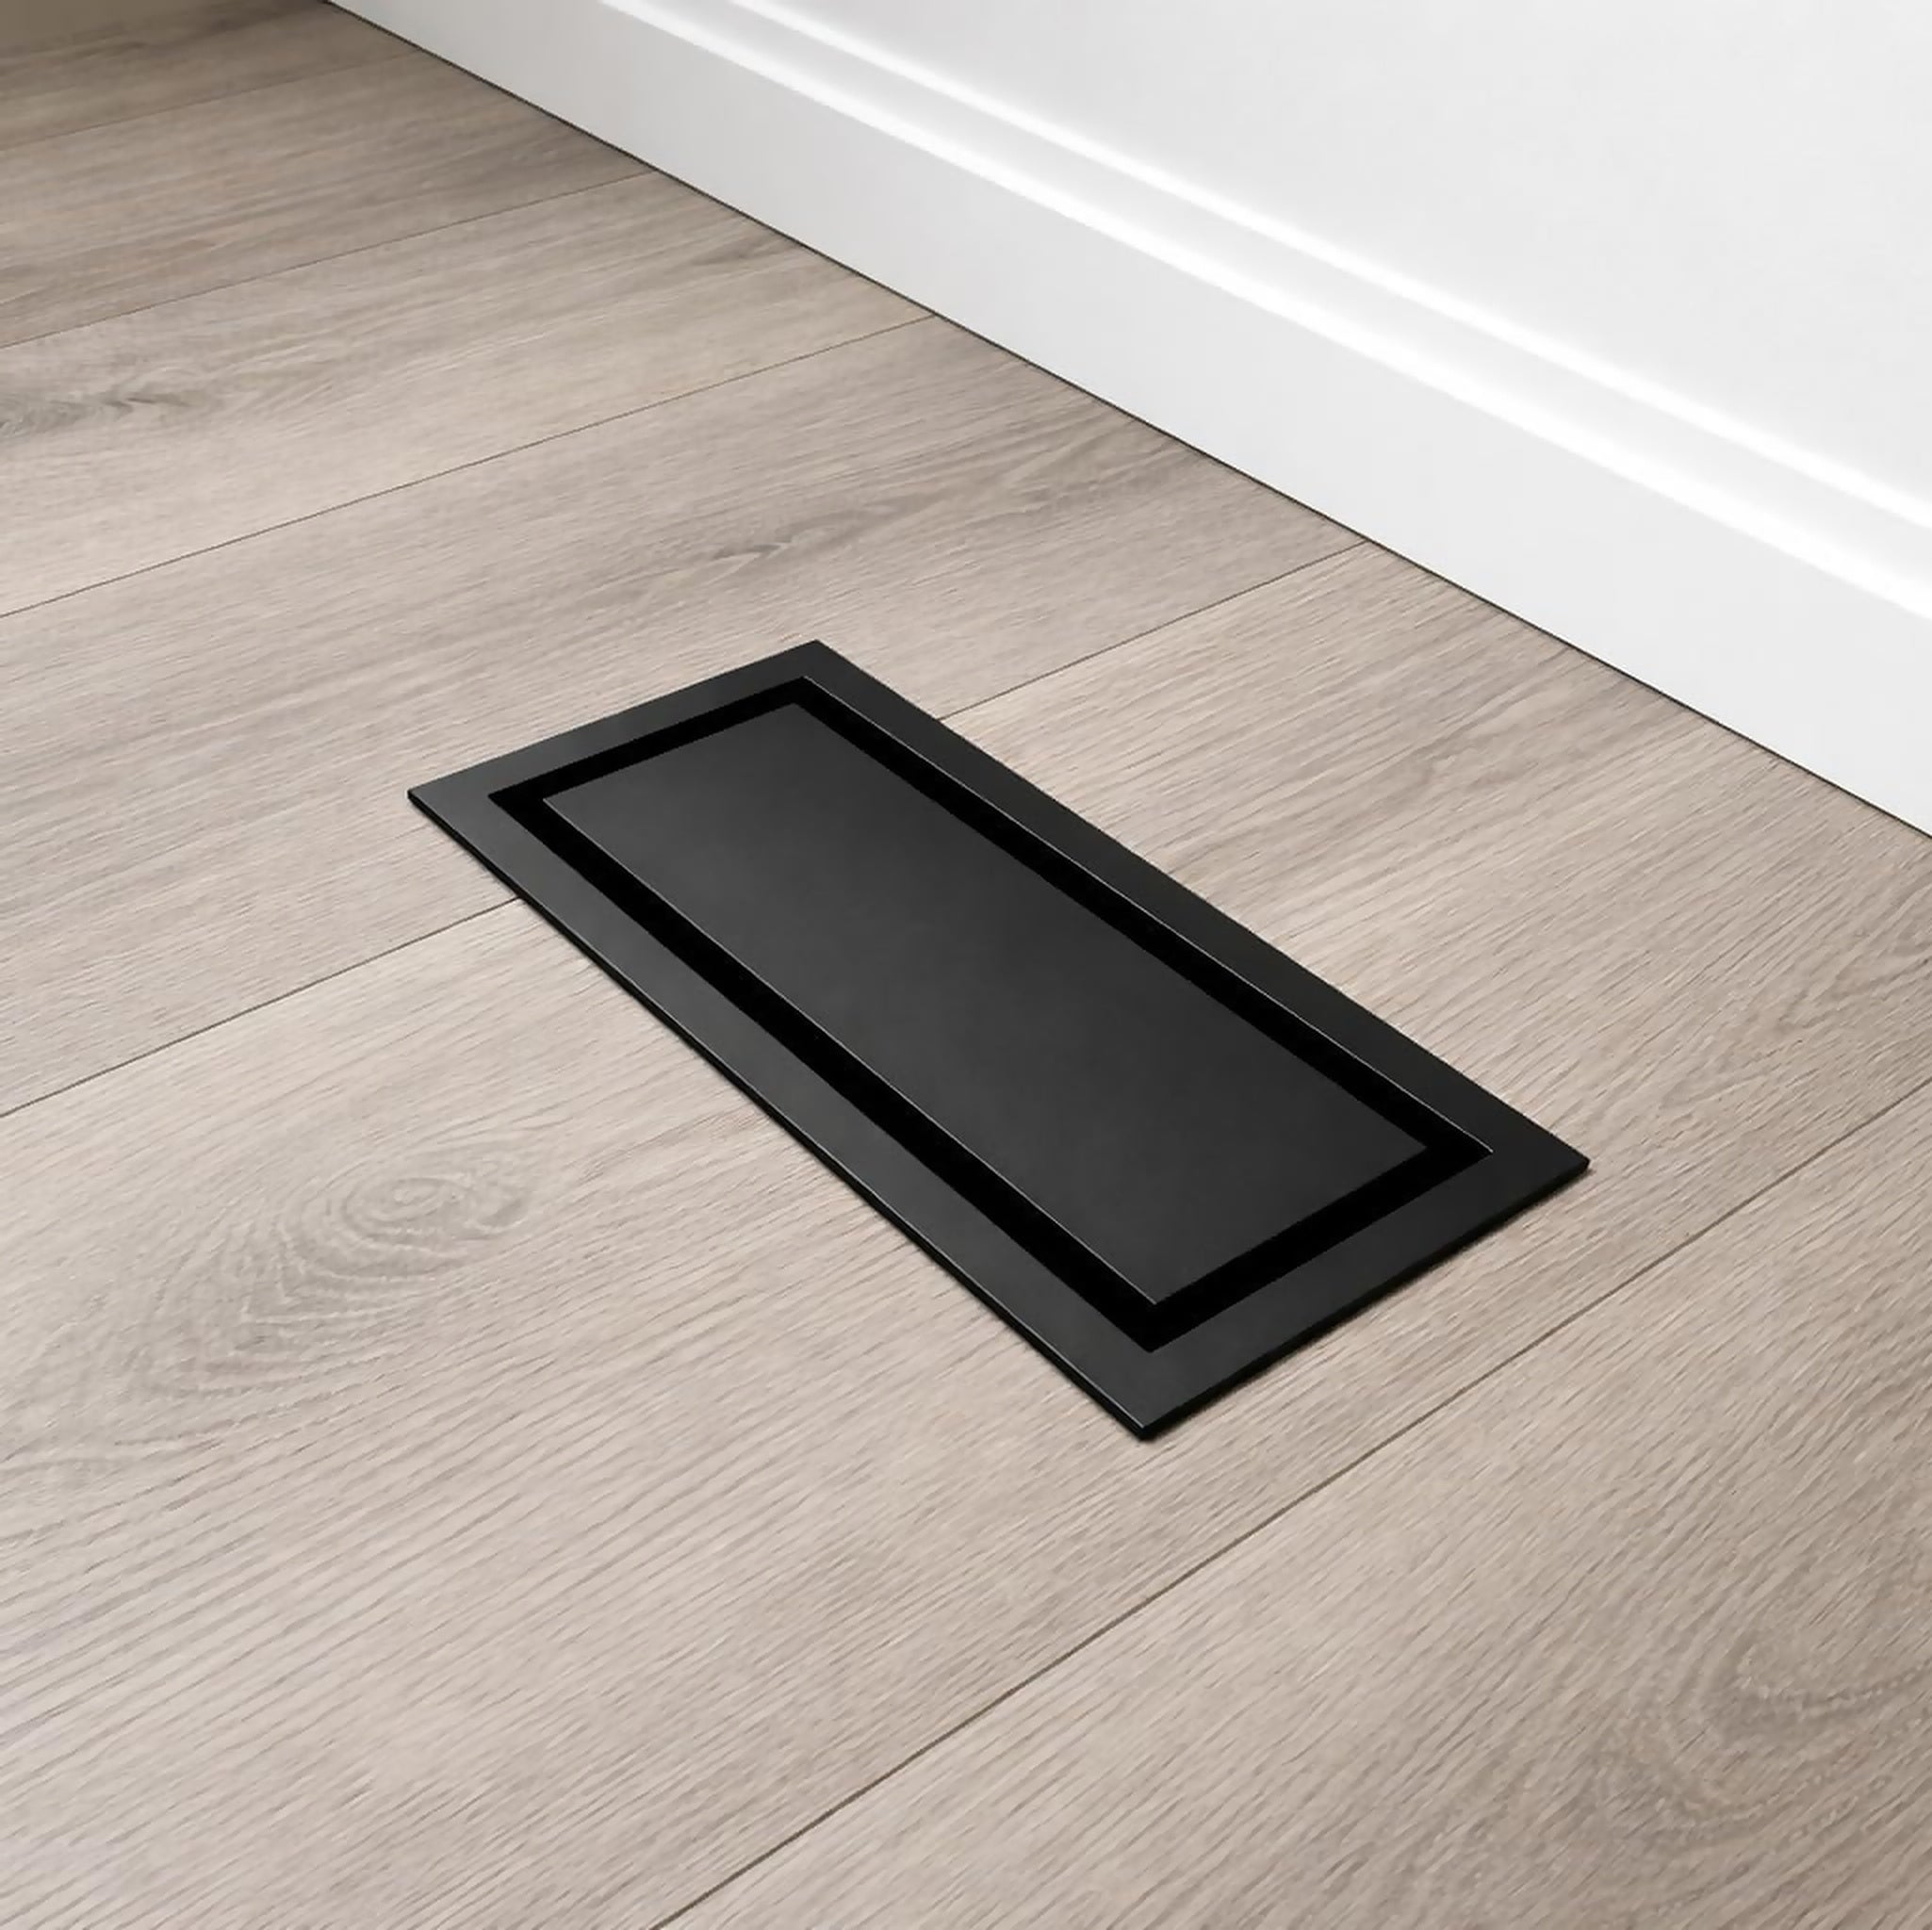
- Framed — the retrofit. The Framed Wall Vent [Metal] (from $37.99 CAD) sits on the drywall surface with a clean trimmed edge that covers the existing cut. No mudding, no patching, no reno window required. It is the right answer for a straight swap in a finished room, and it starts at 3x10, 4x8 and 4x10.
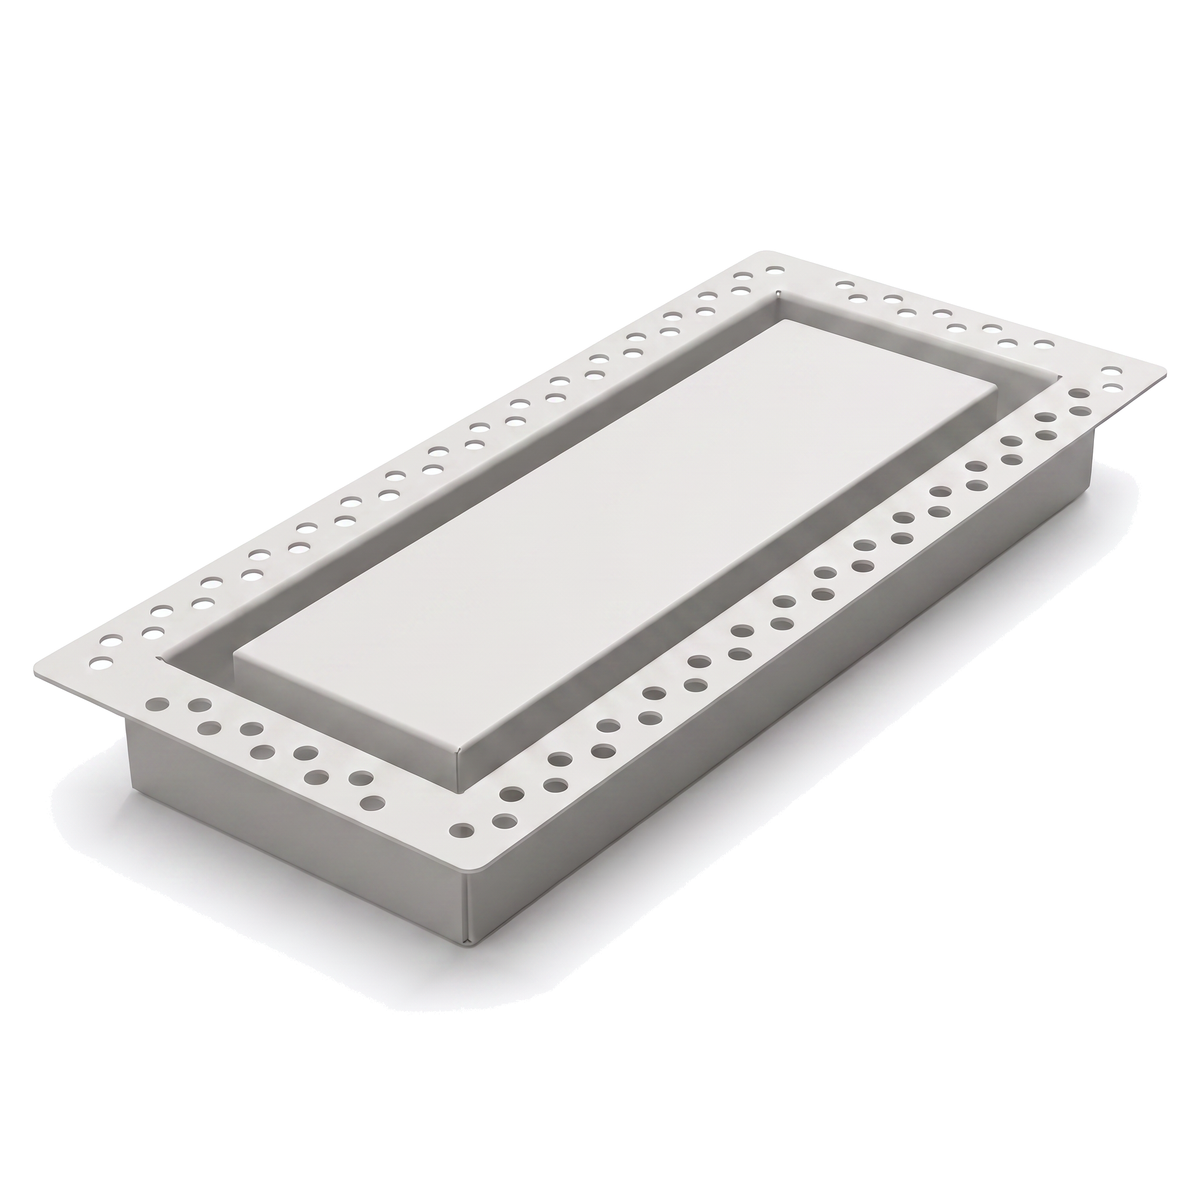
- Flush — the built-in look. The Flush Wall Vent [Metal] (from $36.99 CAD) recesses into the wall so the grille reads as part of the surface rather than an object stuck on it. Because it sits in the wall rather than on it, it belongs in the schedule while the drywall is open or being finished — during a basement build, a bathroom gut, or a new build.
Both are 100% metal with no plastic, which matters more on a wall than people expect: a plastic grille near warm supply air cups and goes chalky, and once it bows it never sits tight to the wall again. If you are still weighing the two styles, our comparison of flush vs framed wall vents lays out the trade-offs room by room, or you can compare both side by side in the metal wall vent collection.
How to install a wall vent, step by step
- Kill the airflow first. Switch the furnace or air handler to off at the thermostat so you are not fighting a live supply while you work.
- Remove the old cover and back the screws out fully rather than prying — prying is how the drywall corners tear.
- Clean the opening. Vacuum the lip of the duct and knock back any loose drywall paper so the new frame can sit flat.
- Dry-fit before you drive anything. Hold the vent up, check it covers the cut on all four sides, and level it by eye against the nearest baseboard or door casing, not against the ceiling — ceilings lie.
- Mark and fasten. Pencil the screw points, then drive them snug and stop. Overtightening into drywall strips the hole and leaves the frame rocking.
Two details worth the extra minute: aim the fins so supply air throws into the room rather than straight at a curtain, and if the wall behind the frame is uneven, shim rather than crank the screws down. Deciding when in a renovation the vent goes in is the same problem on the floor — floor vent install timing is the companion read.
What changes when the vent is on a ceiling?
Ceilings are the same measurement job with gravity working against you. Support the cover with one hand while you start both screws, and confirm the cover is rated to sit over your exhaust housing before you order. The flush style also works overhead, which is why it turns up in bathroom projects where a builder-grade fan cover is the last plastic thing left in a finished room — our bathroom exhaust fan cover ideas covers that swap.
Frequently Asked Questions
What size wall vent do I need?
Order to the duct opening, not the old faceplate. Measure the bare hole after removing the existing cover; a 4x10 vent fits a roughly 4-inch by 10-inch duct, and the frame you see will be larger than that by design.
Can I install a wall vent without cutting drywall?
Yes, if you choose a framed vent. It mounts on the wall surface over the opening you already have, so a straight replacement needs nothing more than a screwdriver. Flush wall vents recess into the wall and are best specified while the drywall is open.
Do wall vents and floor vents use the same sizes?
They share common sizes such as 3x10 and 4x10, but the mounting is different, so a floor register is not a drop-in substitute for a wall opening. Match the product to the surface it is going into.
Share:
Metal vs Plastic Vent Covers: Which Should You Buy?