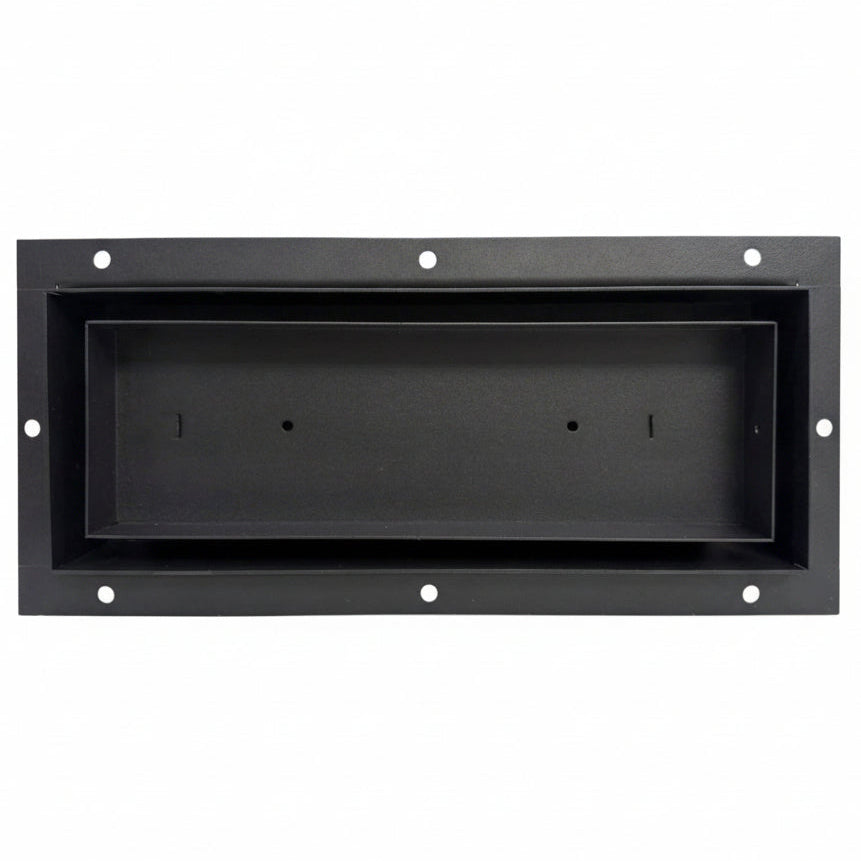
Undermount floor vent installation is one of those jobs where the timing matters more than the tools. An undermount vent drops into the subfloor before your finished flooring goes down, so the flooring is built up around the frame and the grille ends up sitting perfectly level with the surface. Get the sequence right and you get a vent that reads as part of the floor. Miss the window, and you're back to a surface-mounted option. Here's how the install actually goes, and what to check before your flooring crew shows up.
What an undermount vent is (and when it goes in)
The Undermount Flush Floor Vent [Metal] installs into the subfloor and is designed to sit completely flush with the finished floor. It comes in 3x10, 4x10 and 4x12 duct sizes, starting at $54.99 CAD, and it's 100% metal — no plastic frame to warp under a heat run or crack when a chair leg finds it.
The critical point: this is a pre-flooring product. It needs to be set while the subfloor is still exposed, before hardwood, engineered planks, LVP or tile go down. If your floor is already finished and you're just swapping out old registers, an undermount isn't the right call — a drop-in metal floor vent installs into the existing opening with a click-in compression fit and needs no subfloor work at all.
Step 1: Confirm the duct opening, not the old vent
Measure the rough duct opening in the subfloor — the hole itself — not the old grille sitting on top of it. A 4x10 vent refers to the duct opening, and the visible frame is always larger. Pull a tape across the opening in both directions and at both ends, since older Canadian homes rarely have perfectly square boot openings. If the number lands between sizes, our guide on measuring your vents correctly the first time walks through the common traps.
Step 2: Prep the subfloor and dry-fit
Vacuum the duct boot and the surrounding plywood — debris under the frame is the number one cause of a vent that rocks or sits proud. Then dry-fit the frame over the opening and centre it. You want an even reveal on all four sides so the flooring can be scribed cleanly against the frame later.
- Check that the frame sits flat with no rock in any corner.
- Confirm the duct boot isn't protruding above the subfloor — trim or reset it if it is.
- Mark the frame position in pencil before you fasten anything.
Step 3: Set the frame at the right height
This is the step that separates a flush install from a lippy one. The frame has to be set so that the finished grille lands level with the top of your finished flooring, not the subfloor. Add up your build-up: underlayment, membrane or thinset bed, plus the flooring thickness itself. Nail-down hardwood at 3/4", engineered plank at 1/2" and tile over thinset all give different totals, so calculate for your actual assembly rather than assuming.
Fasten the frame to the subfloor with screws for wood-based floors. For tile, the frame can be embedded into the thinset bed while it's still workable, then pressed down and checked for level in both directions before it sets.
Step 4: Lay flooring up to the frame
Your flooring crew scribes and cuts each plank or tile to meet the frame edge. Tell them the vent is already in before they start — it changes how they plan the run. A tight, consistent gap around the perimeter is what sells the flush look, so this is worth a conversation rather than a note left on the subfloor.
Step 5: Drop in the cover and check airflow
With flooring cured, seat the cover and run the system. Feel for air movement and make sure nothing in the boot is blocking the throat. If a room is running cold, the vent is rarely the culprit — check the damper and the run before assuming the grille is restricting flow.
Planning around Canadian reno timelines
Because undermount vents install ahead of flooring, they need to be on site before the flooring stage — not ordered the week the floors are being laid. Order sizes early, confirm quantities against your floor plan, and keep a spare on hand. Every Khan Supply CO order ships free across Canada and is backed by a 2-year warranty, but shipping time still needs to fit inside your build schedule.
If you're partway through and the flooring is already down, that's not a failure — it just means the drop-in style is your product. Both give you a low-profile metal grille; only the install sequence differs.
Frequently Asked Questions
Can I install an undermount floor vent after my flooring is finished?
No. The undermount frame sets into the subfloor and relies on the flooring being laid around it. On a finished floor, a drop-in metal floor vent is the correct choice — it installs into the existing duct opening with a compression fit.
What size undermount vent do I need?
Size by the duct opening in the subfloor, not the old grille. Khan Supply CO offers 3x10, 4x10 and 4x12 in the undermount style. Measure the rough opening at both ends, and if the readings differ, go by the smaller one.
Does an undermount vent work with tile and heated floors?
Yes. The metal frame can be set into the thinset bed with the tile scribed up to it. Just account for the full build-up — membrane, thinset and tile thickness — when setting the frame height so the cover finishes flush.
Share:
Bathroom Exhaust Fan Cover Ideas for Modern Ceilings