
Finishing or renovating the wall
Flush Wall
Flange finished into drywall
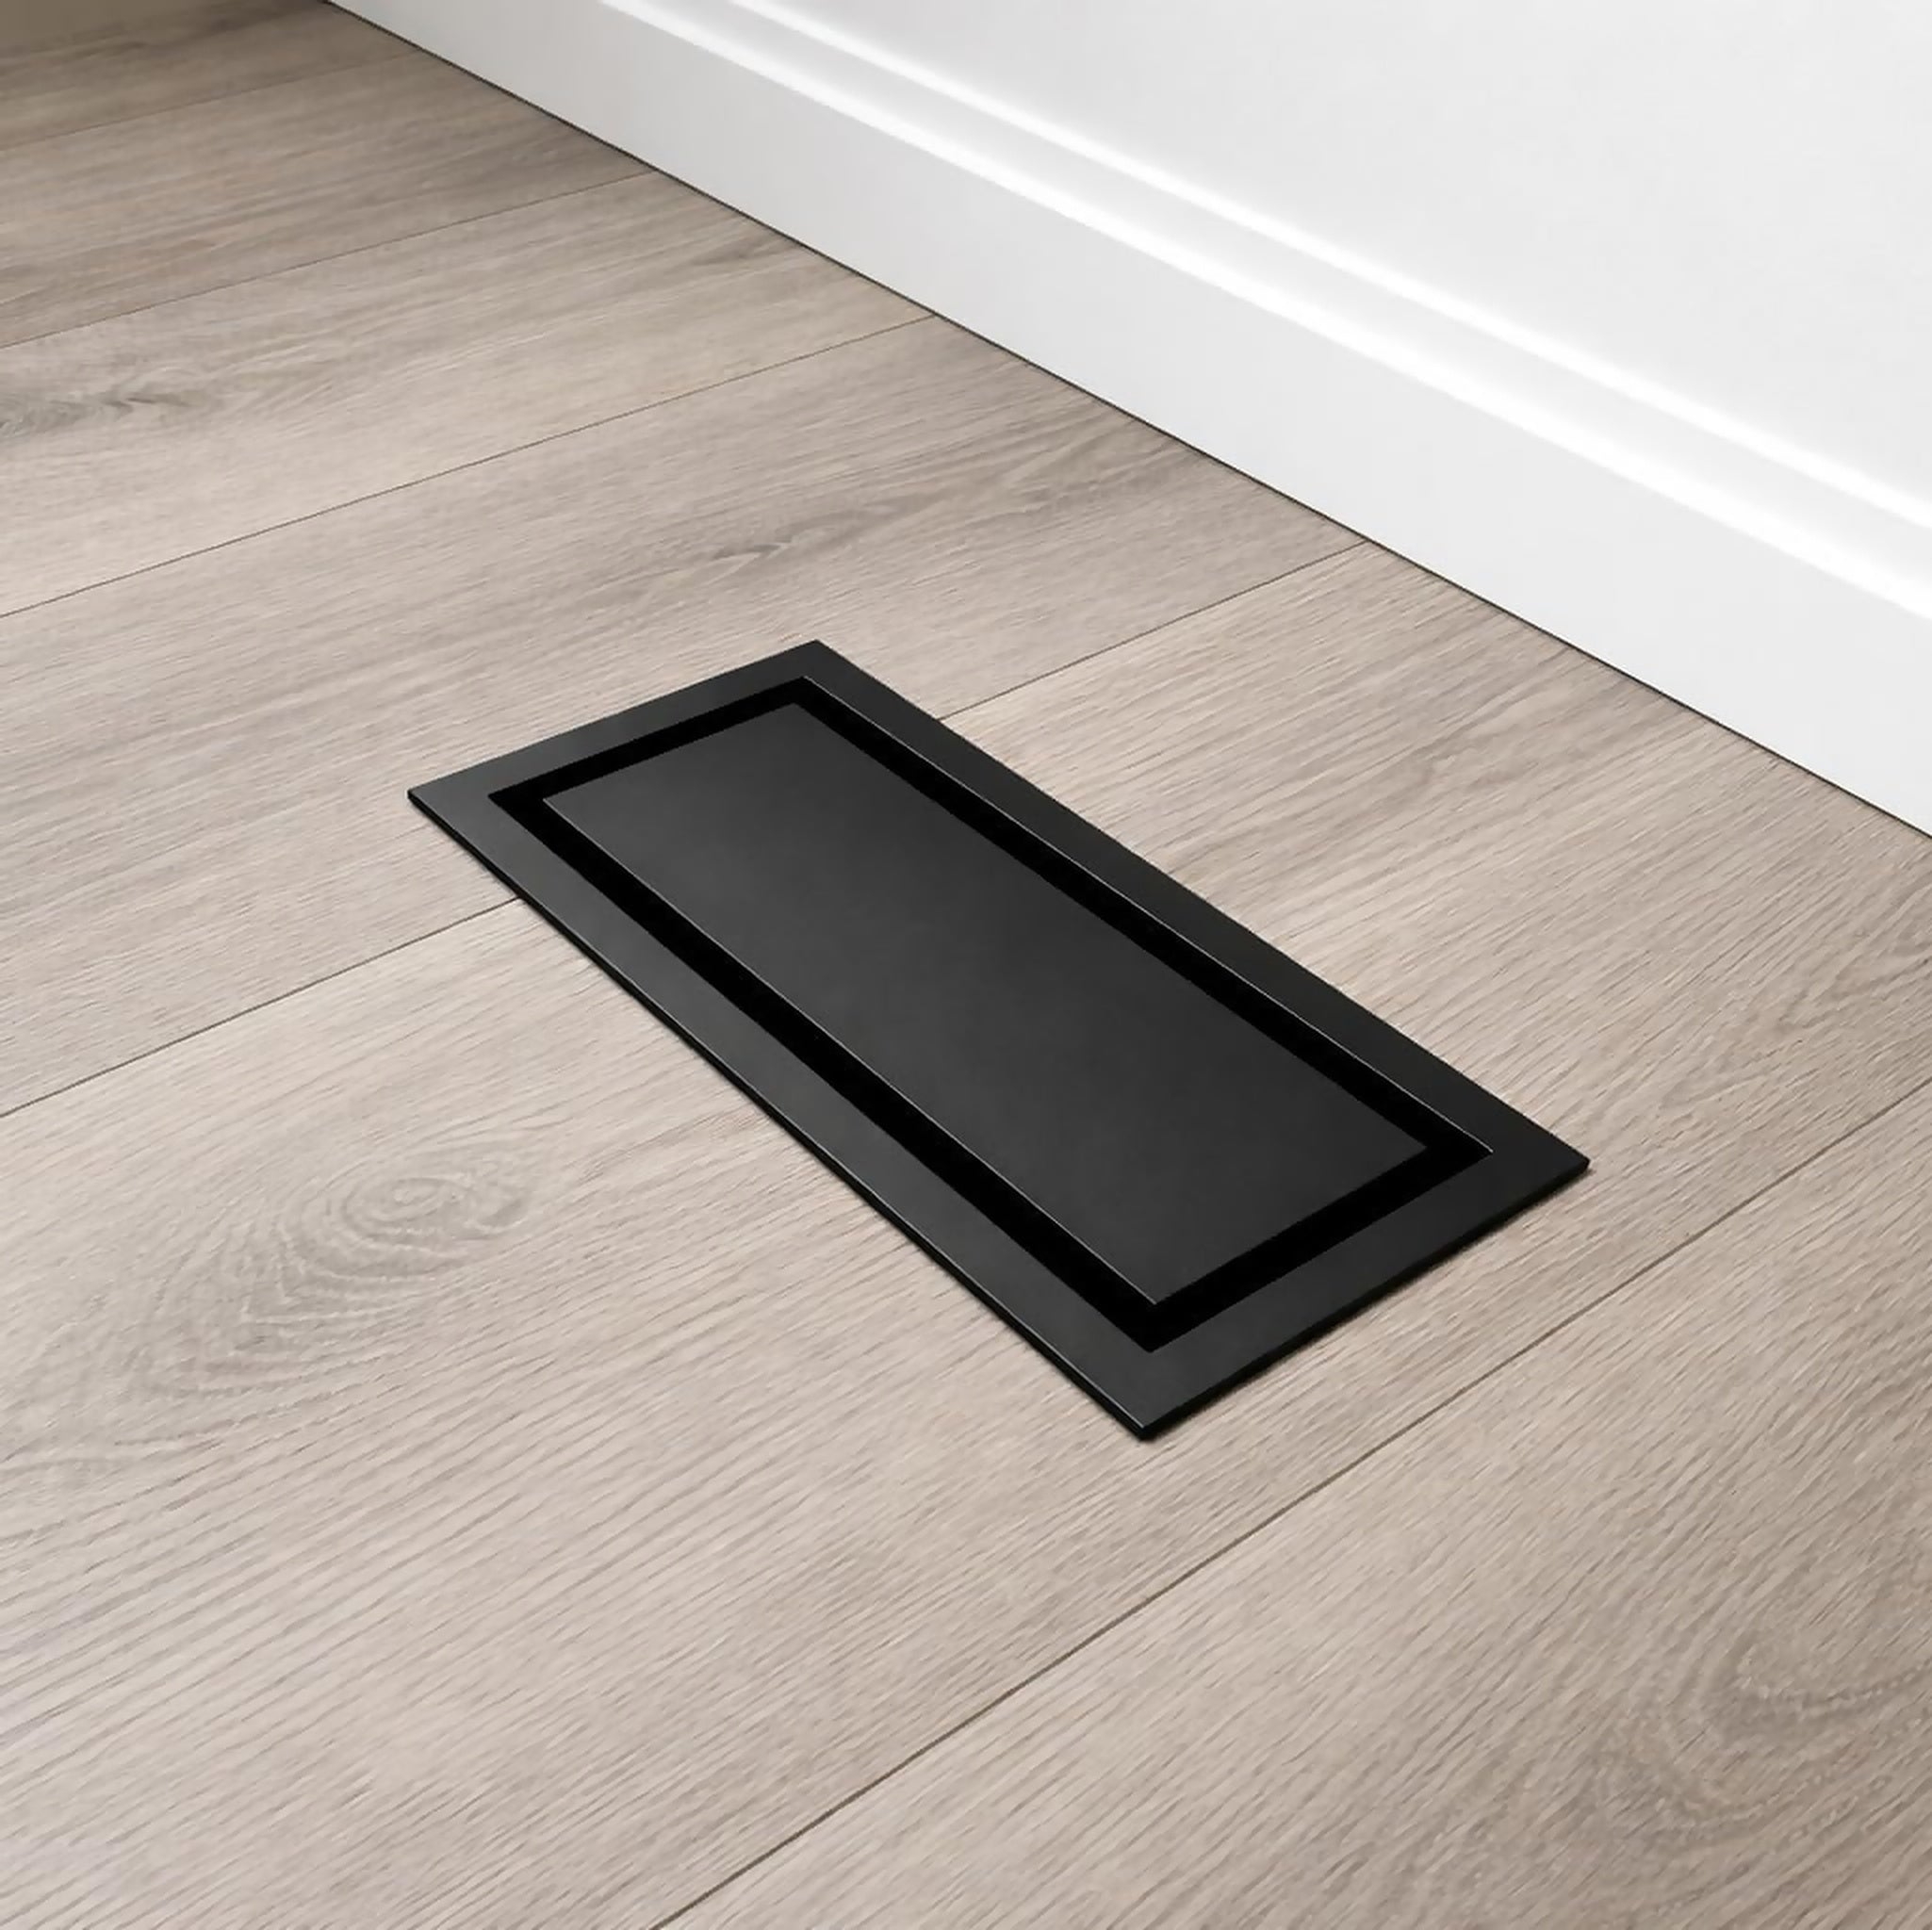
A metal flange fastened in place, then mudded, sanded and finished with the wall. Plan the finishing work before ordering.
Always 100% Metal
You're in: here's your code
It comes off at checkout. We’ve emailed the code too.
Wall vents / Choose the finish
Choose a visible frame or a flange finished into the wall. The 6×12 label is a starting point; compare the selected model’s drawing with the actual opening and fixing support.
Options for Canada · CAD
Finishing or renovating the wall
Flange finished into drywall
A metal flange fastened in place, then mudded, sanded and finished with the wall. Plan the finishing work before ordering.

Keeping the wall finish
Visible perimeter frame
A metal frame fastened through pre-drilled holes. Check the opening and fixing support; the flange does not need mudding.
Measure width and height in several places. Record anything that narrows the opening, plus the space available around it for the frame or flange.
A Framed vent leaves a visible border. A Flush flange needs fastening, mudding, sanding and finishing. Check suitable support at the fixing points.
Identify whether the opening is supply or return. Size alone does not establish the airflow your system needs. A ceiling installation also needs the appropriate fixing method.
The figures below are the existing drawing-based calculations. The listed duct geometry is used in those calculations; it is not a cutting template or an installation-clearance allowance. Confirm the exact product drawing before modifying the opening.
| Style and product size | Duct geometry, mm | Geometric free area | CFM at 500 fpm |
|---|---|---|---|
| Flush Wall 6×12 | 146.1 × 298.5 | 18.3 sq in | ≈ 64 |
| Framed Wall 6×12 | 146.1 × 298.5 | 18.3 sq in | ≈ 64 |
CFM is calculated from geometric free area at an assumed 500 feet per minute. These figures are not measured airflow or pressure-drop results. Inserts, dampers and the installed system can change the effective opening and airflow. Read the calculation method →
Send the opening measurements, intended mounting position and a photo to support. Include the wall or ceiling material so we can help you check the installation guidance.