Floor vent install timing is one of those renovation details that only bites you after the flooring is already down. Whether you fit your vents before or after new flooring depends almost entirely on which vent style you have chosen — and for one of the two main styles, the window closes permanently once the last plank is locked in. Here is how to sequence it so nobody has to cut a finished floor back open.
The short answer depends on your vent style
Two styles, two completely different rules:
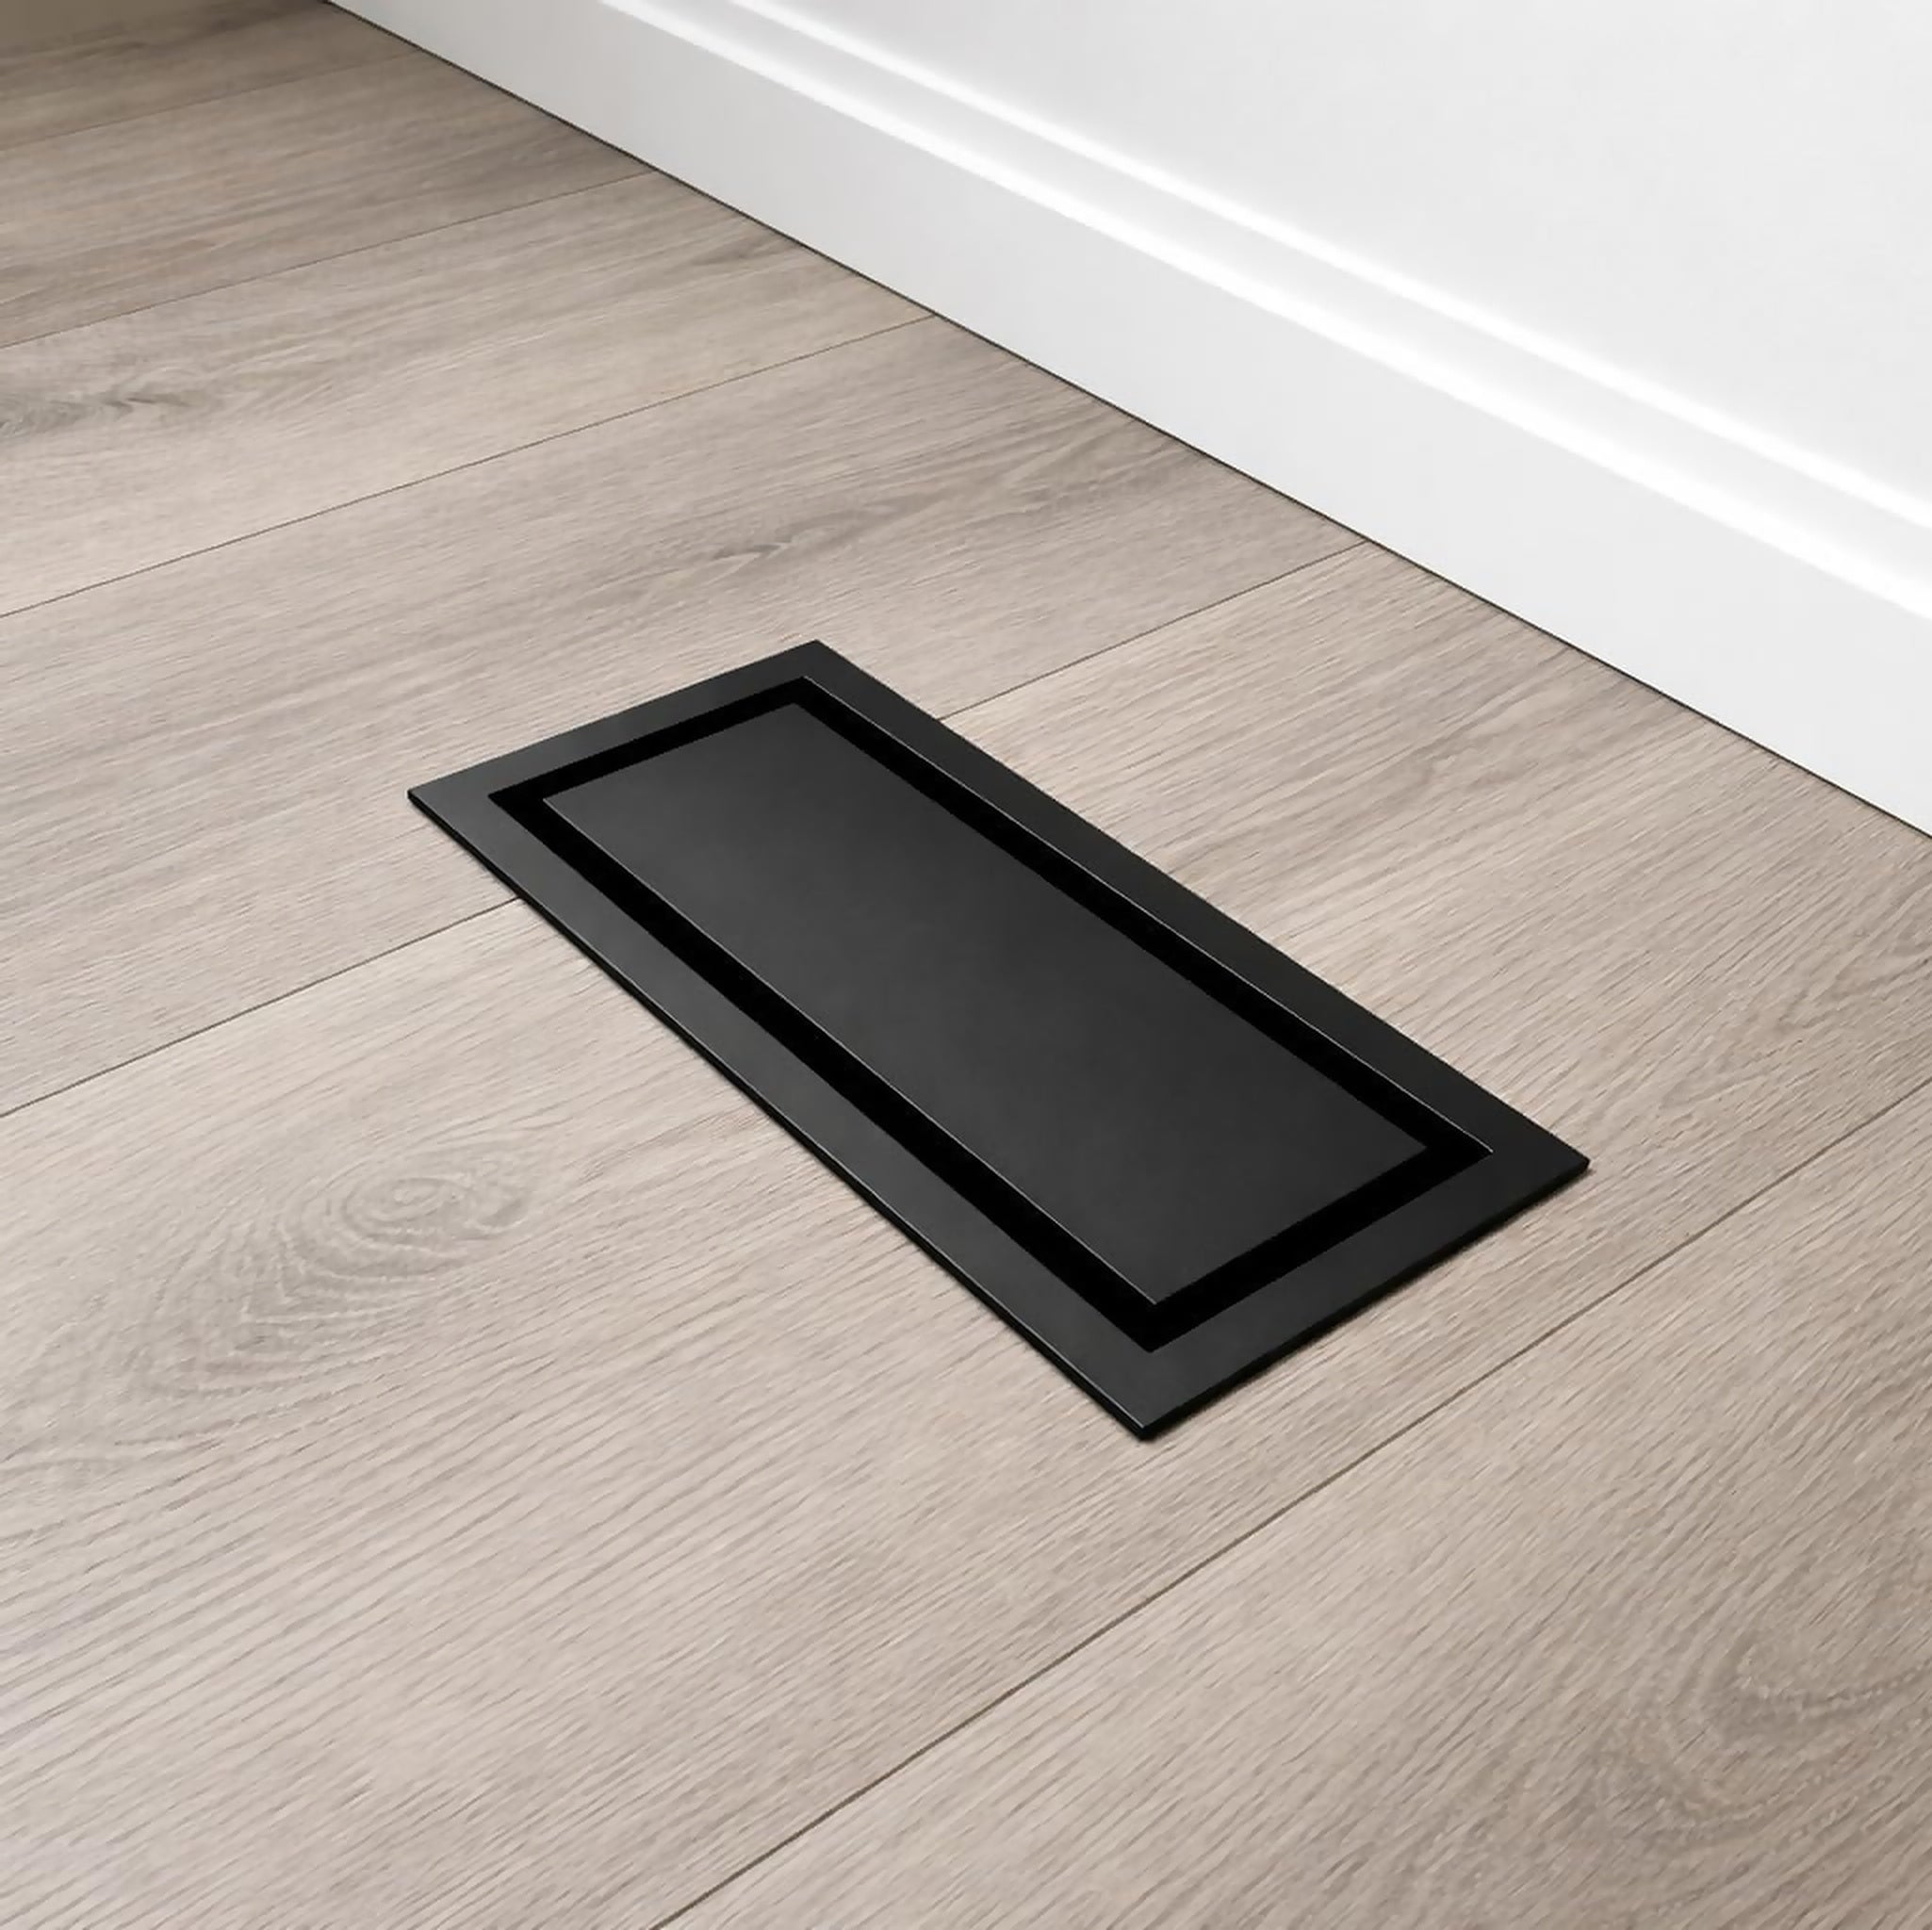
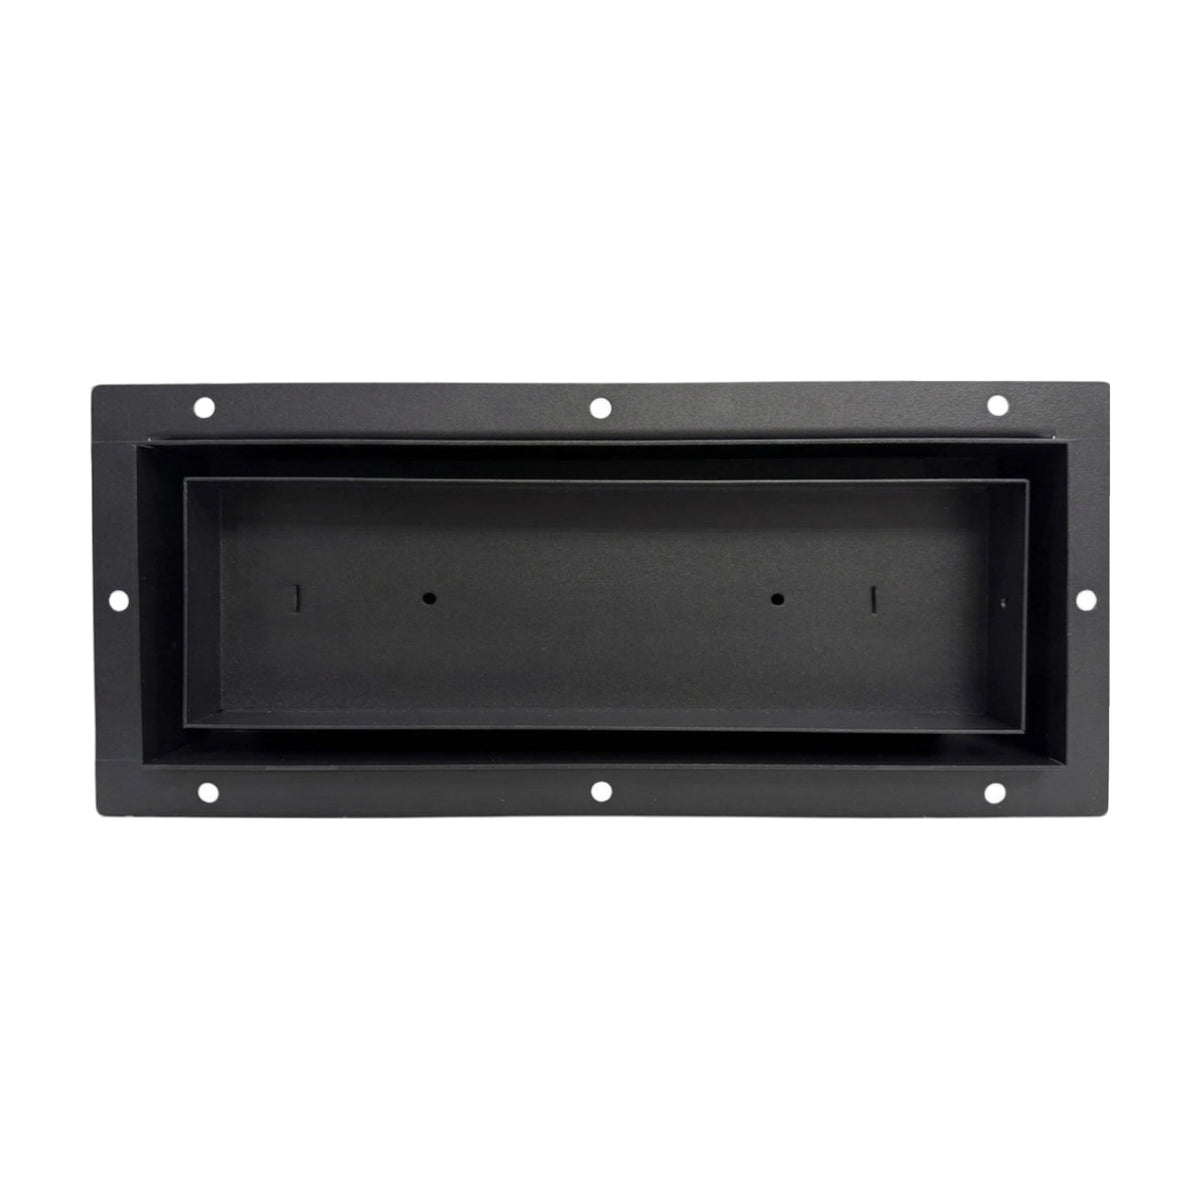
- Undermount flush vents install into the subfloor so the grille sits level with the finished floor. They must be in place before flooring goes down, because the flooring is fitted around them.
- Drop-in vents sit in the existing duct opening on a compression fit. They can go in at any point — before, after, or five years later.
If you are still deciding, our breakdown of framed drop-in versus undermount flush floor vents covers the look, the cost and the labour difference. Choose the style first; the schedule follows from it.
Undermount flush vents: order before the flooring goes down
The Undermount Flush Floor Vent [Metal] (from $54.99, in 3x10, 4x10 and 4x12) drops into a recess in the subfloor. Your flooring installer then runs the planks or tile right up to the frame, which is exactly why it disappears into the floor so cleanly — and exactly why it cannot be retrofitted casually.
The practical implication: have the vents on site before your flooring crew starts, not on order. A flooring installer who arrives to find no vents will either build around a guess or carry on and leave you to sort it out later. Our undermount floor vent subfloor install guide walks through the cut and the fastening so your carpenter can review it before the flooring day.
Miss the window and the fix is genuinely disruptive: lifting finished flooring, re-cutting the subfloor, then patching planks that may no longer be available in the same colour lot. That is the single most expensive vent mistake in a renovation.
Drop-in vents: flexible timing, but measure the duct opening first
The Drop-In Floor Vent [Metal] (from $29.69) is our best seller for exactly this reason — the click-in compression fit means no subfloor work and no scheduling pressure. It also delivers up to 60% more airflow than comparable flush vents, which matters in rooms that already run cold.
Timing is flexible, but sizing is not. The duct opening was set when the ducting was framed, so measure the rough opening — not the outer flange of the old vent, which is always larger. Our guide on measuring floor vents for the right size fit shows where to put the tape, and if you have already ordered and something is off, fixing a loose, tight or rattling vent covers the salvage options.
If you want the flush look without touching the subfloor, the Upgraded 2-in-1 Drop In Vent with Insert (from $37.99) ships with a matching insert so you can fill it with your own flooring offcut. Keep a few offcuts aside on flooring day — that decision is easier to make now than to reverse later. You can compare the flush options side by side in our flush floor vents collection.
Wall vents and shower drains have earlier windows
The Flush Wall Vent [Metal] (from $36.99) sets into the drywall, so it belongs to the drywall and mudding stage — before taping, not after paint. The Framed Wall Vent [Metal] (from $37.99) surface-mounts over the opening, so it can go on at trim-out like a drop-in.
The earliest window of all belongs to the Linear Shower Drain [24 Inch] ($69.99). It is set with the shower base and waterproofing, long before the first tile. Its reversible cover — matte black flat panel on one side, tileable insert on the other — lets you defer the finish decision, but the drain body itself cannot wait.
A simple vent sequence for a Canadian renovation
- Framing and rough-in: confirm every duct opening size and order undermount vents and the shower drain.
- Subfloor: install undermount vents; set the drain and confirm the slope.
- Drywall and mud: set flush wall vents.
- Flooring and tile: work up to the vent frames; save offcuts for inserts.
- Paint and trim-out: drop-in floor vents and framed wall vents go in last, so they are not walked on or painted over.
One climate note worth planning around: in a basement finish over a Canadian winter, cold supply runs sweat, and a plastic register warping against a damp subfloor is a problem you inherit in spring. All-metal vents avoid that failure mode entirely. Our guide to what to install in a finished basement and where maps the vent decisions onto the rest of the build.
Frequently Asked Questions
Can I install a flush floor vent after the flooring is finished?
Not without lifting the flooring around the opening, because the vent frame sits inside the subfloor recess and the flooring butts up to it. If your floor is already down, a drop-in vent is the practical choice.
Should vents go in before or after painting?
After. Drop-in floor vents and framed wall vents are the last items to install, which keeps overspray and drywall dust off the finish. Undermount and flush wall vents are the exception — they are structural to the surface and go in earlier.
What size vent should I order during framing?
Order to the rough duct opening, not the room size. Most Canadian homes use 3x10, 4x10 or 4x12 floor openings, and all three sizes are stocked in metal with free shipping and a 2-year warranty.
Share:
Mudroom Floor Vents: Best Picks for Canadian Winters
Matte Black Vents & Drains: A Whole-Home Finish Guide