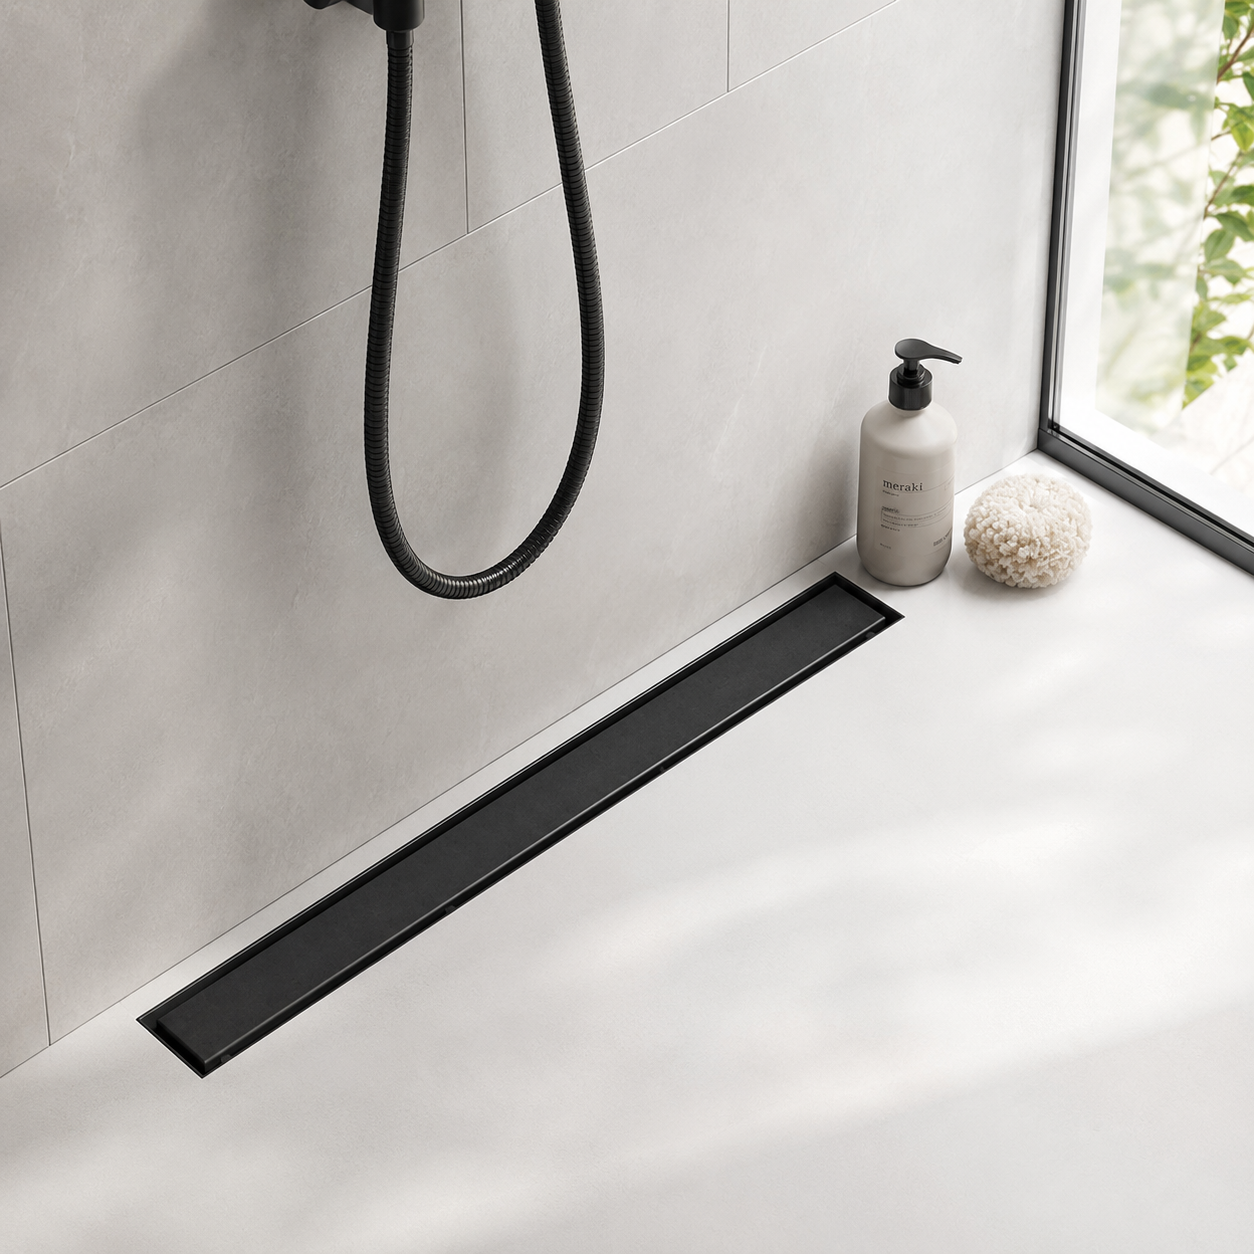
Learning how to install a linear shower drain is the key to a leak-free curbless or walk-in shower, and it's more forgiving than it looks once you understand the sequence. Unlike a traditional square centre drain that forces the floor to pitch inward from four sides, a linear drain collects water along one long channel — usually set against a wall or at the shower entry — so the entire floor can slope in a single, clean plane. That single plane is what makes large-format tile and a barrier-free entry possible. Below is the order Canadian renovators and tile setters follow, from rough-in to the final cover.
Step 1: Position the drain and plan the slope
Decide early whether the channel sits against the back wall, along a side wall, or at the curbless threshold. A wall placement is the most popular for modern builds because it lets the floor tilt in one direction only. Once the location is set, confirm the subfloor is solid, clean and level, then dry-fit the drain body over the waste line so you know exactly where the pitch has to end. The lowest point of your slope is the drain itself; every other point in the shower floor should sit higher than it.
Step 2: Build a single-plane slope
The accepted standard is a fall of roughly 6 mm per 300 mm (¼ inch per foot) toward the drain — about a 2% grade. With a linear drain you only need one continuous ramp instead of the four-way funnel a centre drain requires, which is far easier to tile with big planks or slabs. Pre-slope the mortar bed before any membrane goes down so trapped moisture can weep back to the channel. Check your fall in both directions with a level; a floor that ponds water is almost always a slope that was eyeballed instead of measured.
Step 3: Waterproof, then flood-test
This is the step that protects the entire renovation. Bond a waterproofing membrane continuously across the shower floor, lap it onto the drain flange, and carry it up the walls — a good rule of thumb is at least 150 mm (6 inches) high, and higher in the corners. Seal every inside corner and pipe penetration. Before a single tile goes down, plug the drain and flood-test: fill the pan, mark the water line, and leave it for 24 hours. If the level holds, you're watertight. Finding a leak now costs a bucket of water; finding it after tiling costs the whole shower.
Step 4: Set the drain height and lay the tile
Set the drain flange slightly below your finished tile height — enough to allow for the membrane, thinset and tile thickness — so the cover ends up flush with the floor rather than standing proud of it. Start tiling at the drain and work outward, keeping your grout lines consistent as the pitch carries them toward the channel. Because the drain runs in a straight line, your cuts along its edge stay simple and repeatable, which is a real favour when you're working with larger tile.
Choosing the right cover for your finish
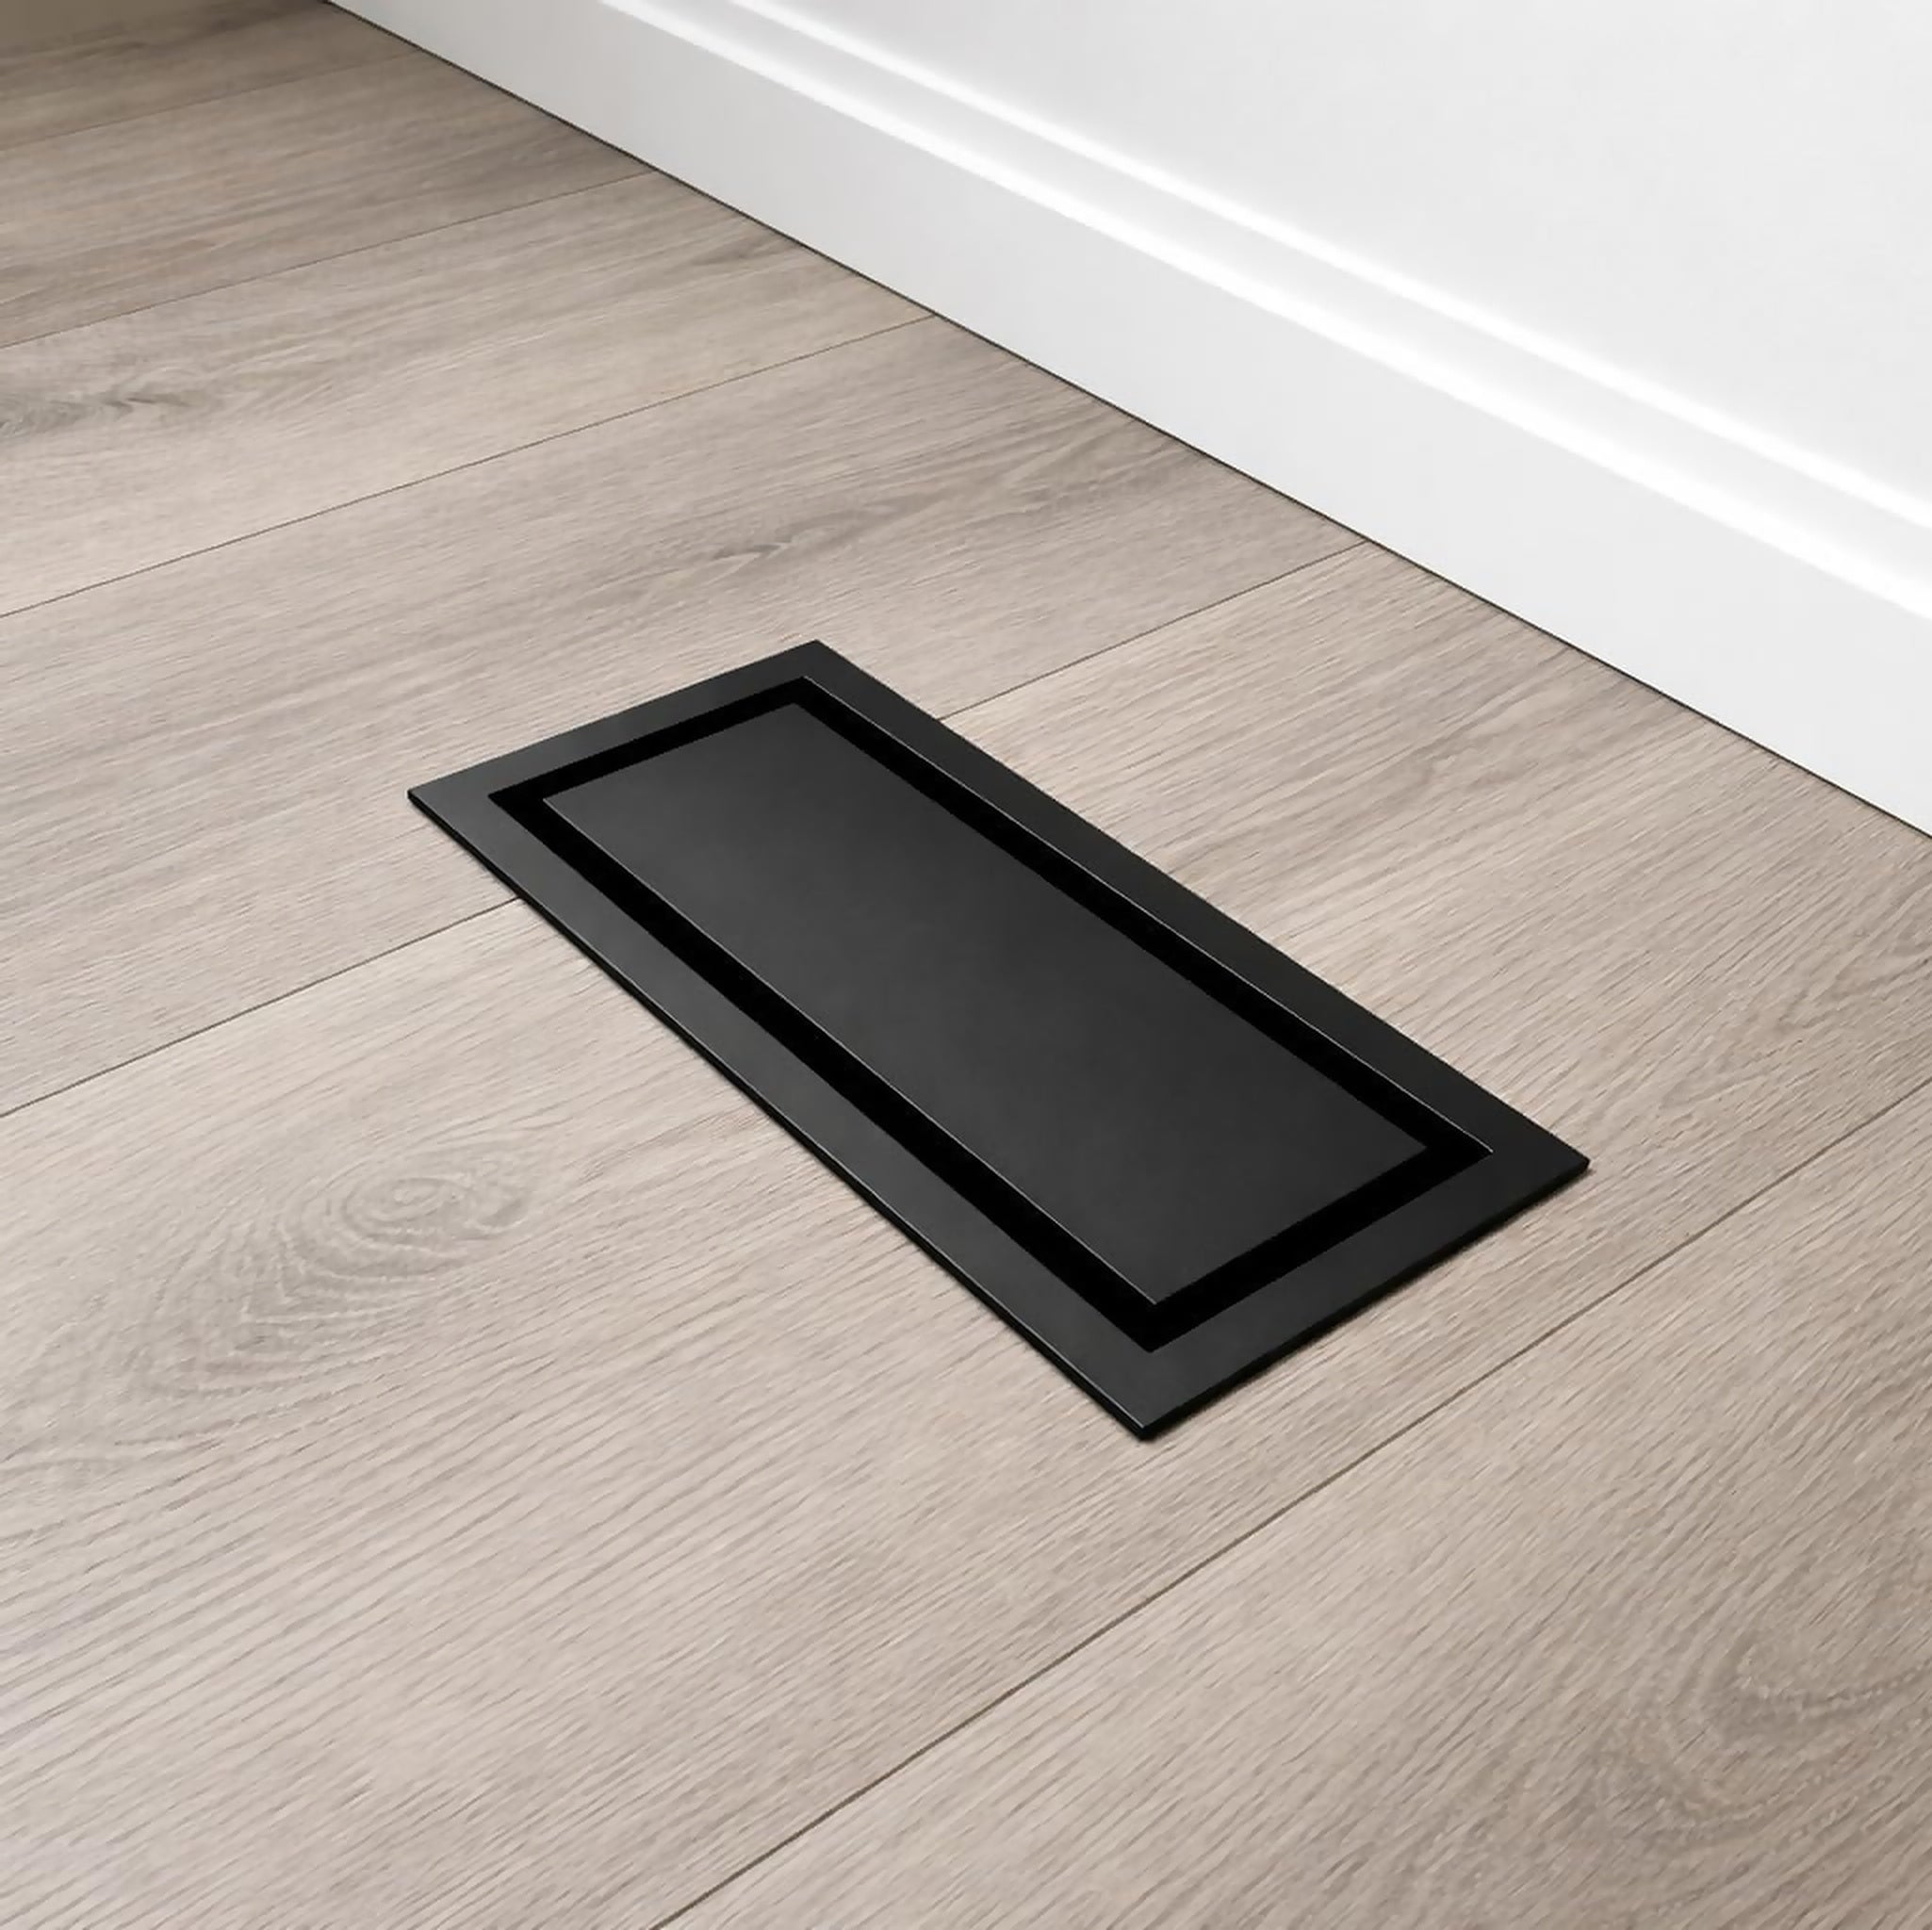
The cover is where design meets function. Our 24-inch Linear Shower Drain ships with a 2-in-1 reversible cover: flip it to the matte-black flat side for a crisp modern look, or turn it to the tileable insert and drop in a piece of your floor tile so the drain nearly disappears. It's built from 100% metal — no plastic to warp or discolour in a hot, wet shower — and it's backed by a 2-year warranty with free shipping across Canada. Still deciding between the two sides? Our matte black or tile insert finish guide compares them side by side. If you're weighing the overall look, our guide to curbless shower design with linear drains covers the style side, while our basement bathroom reno ideas get into cold-climate details for below-grade builds.
Frequently Asked Questions
What slope does a linear shower drain need?
Plan for about ¼ inch per foot (roughly 6 mm per 300 mm), or a 2% grade, running toward the channel. The advantage of a linear drain is that this fall happens in one continuous direction, so you can use large-format tile without the four-way pitch a centre drain demands.
Can I install a linear drain right against the wall?
Yes — a wall-mounted linear drain is one of the most popular placements because the floor only has to slope one way. Just make sure the waterproofing membrane laps fully onto the drain flange and up the adjoining wall so the wall-to-floor joint stays sealed.
Should I waterproof before or after setting the drain?
Set and secure the drain body first, then bond the waterproofing membrane onto its flange so the two form a continuous seal. Always flood-test the finished pan before laying any tile — it's the only reliable way to confirm the shower is watertight.
Share:
Floor Registers with Flooring Inserts: A Buyer's Guide
Bathroom Exhaust Fan Cover Ideas for Modern Ceilings